Thank you to Jenny Quicksall for her amazing photography in capturing this special day for us. Like all parties, it's always a whirlwind trying to say hi to everyone, make sure food is replenished, all your guests have a drink, baby is happy, etc. I can't imagine trying to remember to take pictures on top of all of that much less pictures that include both myself, Mr. A and Milly- so to have our friend, Jenny there taking photos of each moment was an immeasurable relief and a priceless gift we will cherish forever!

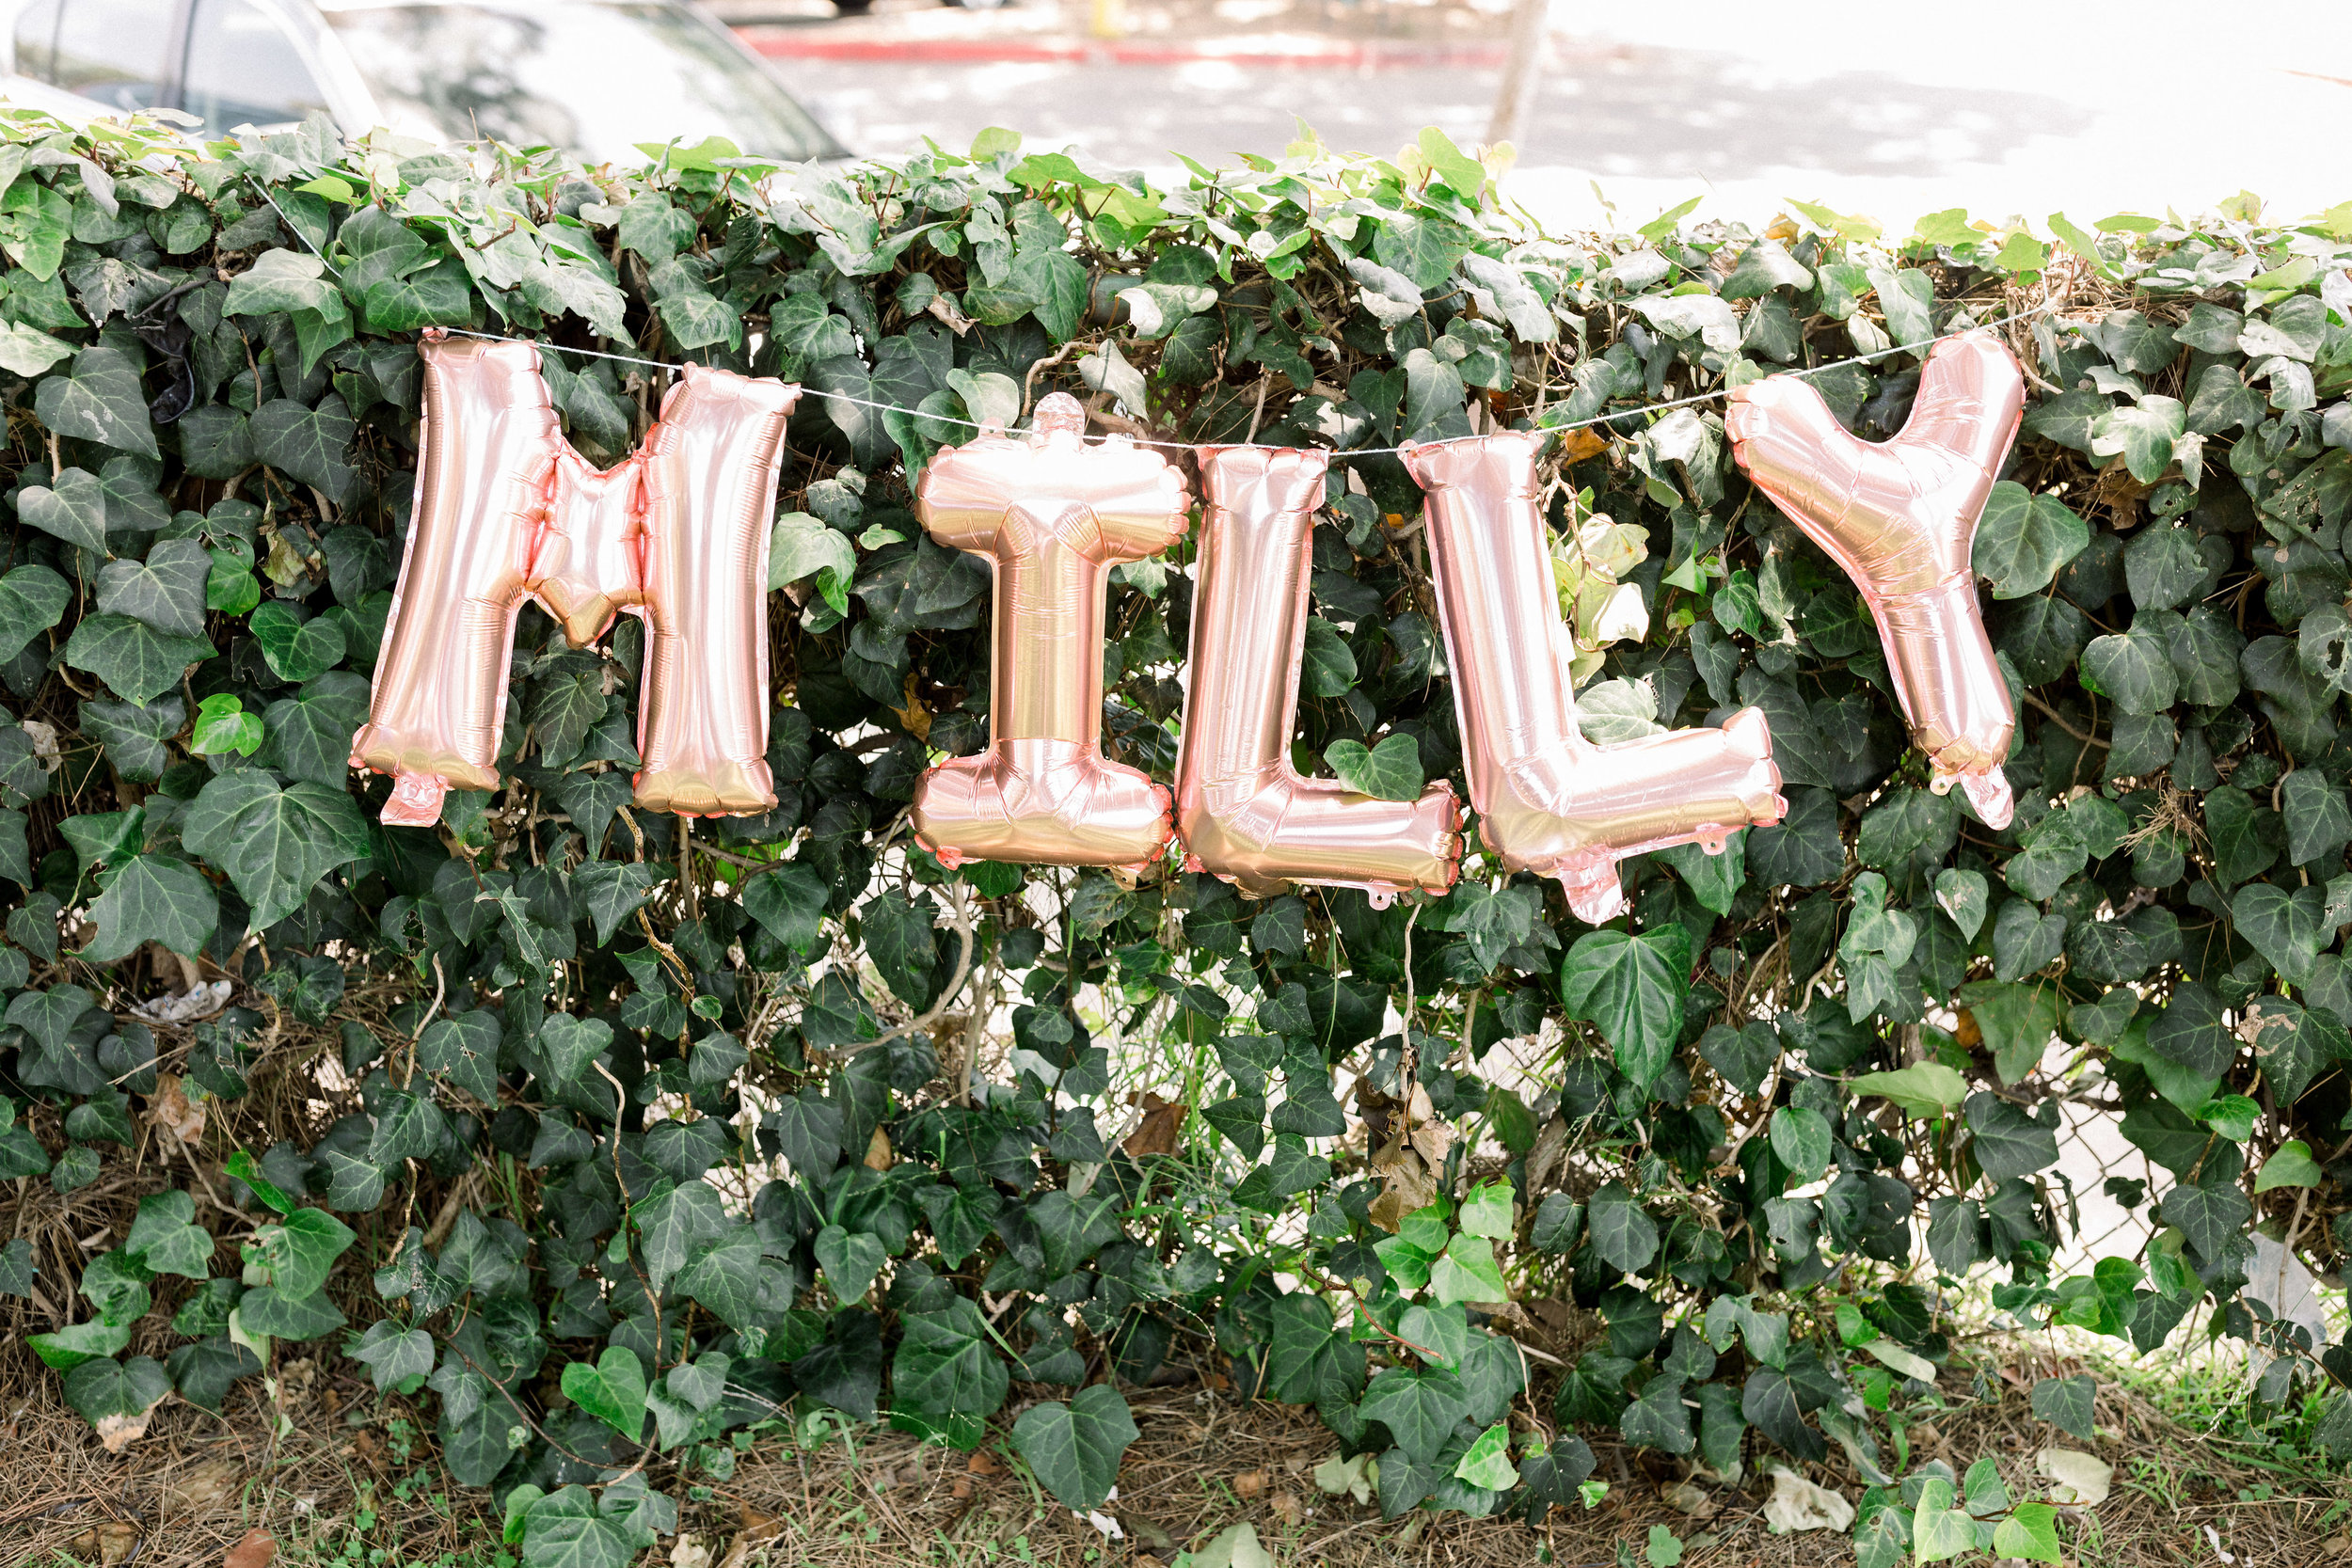
Happy Birthday Little Amazing!!! I can't believe our baby girl is already 1 year old. They say the days are long and the years are short and now that I'm a Mama I totally get it. My little mermaid baby that couldn't wait to meet us, who was almost born in Daddy's car-is here and has given us so much joy in the last year it's hard to remember life before her. She is a dream baby but I don't know if I ever really looked at her like a "baby" because to me she's always been a magical gift from God, this tiny person that I've always known and continue to fall more and more in love with. Every night after we put her to bed Mr. A and I will look at each other and talk about how amazing she is. Sometimes we do this for hours. We love being Milly's Mama & Daddy! And we couldn't wait to shellabrate her with a party fit for the mermaid babe she is and invite all her friends.


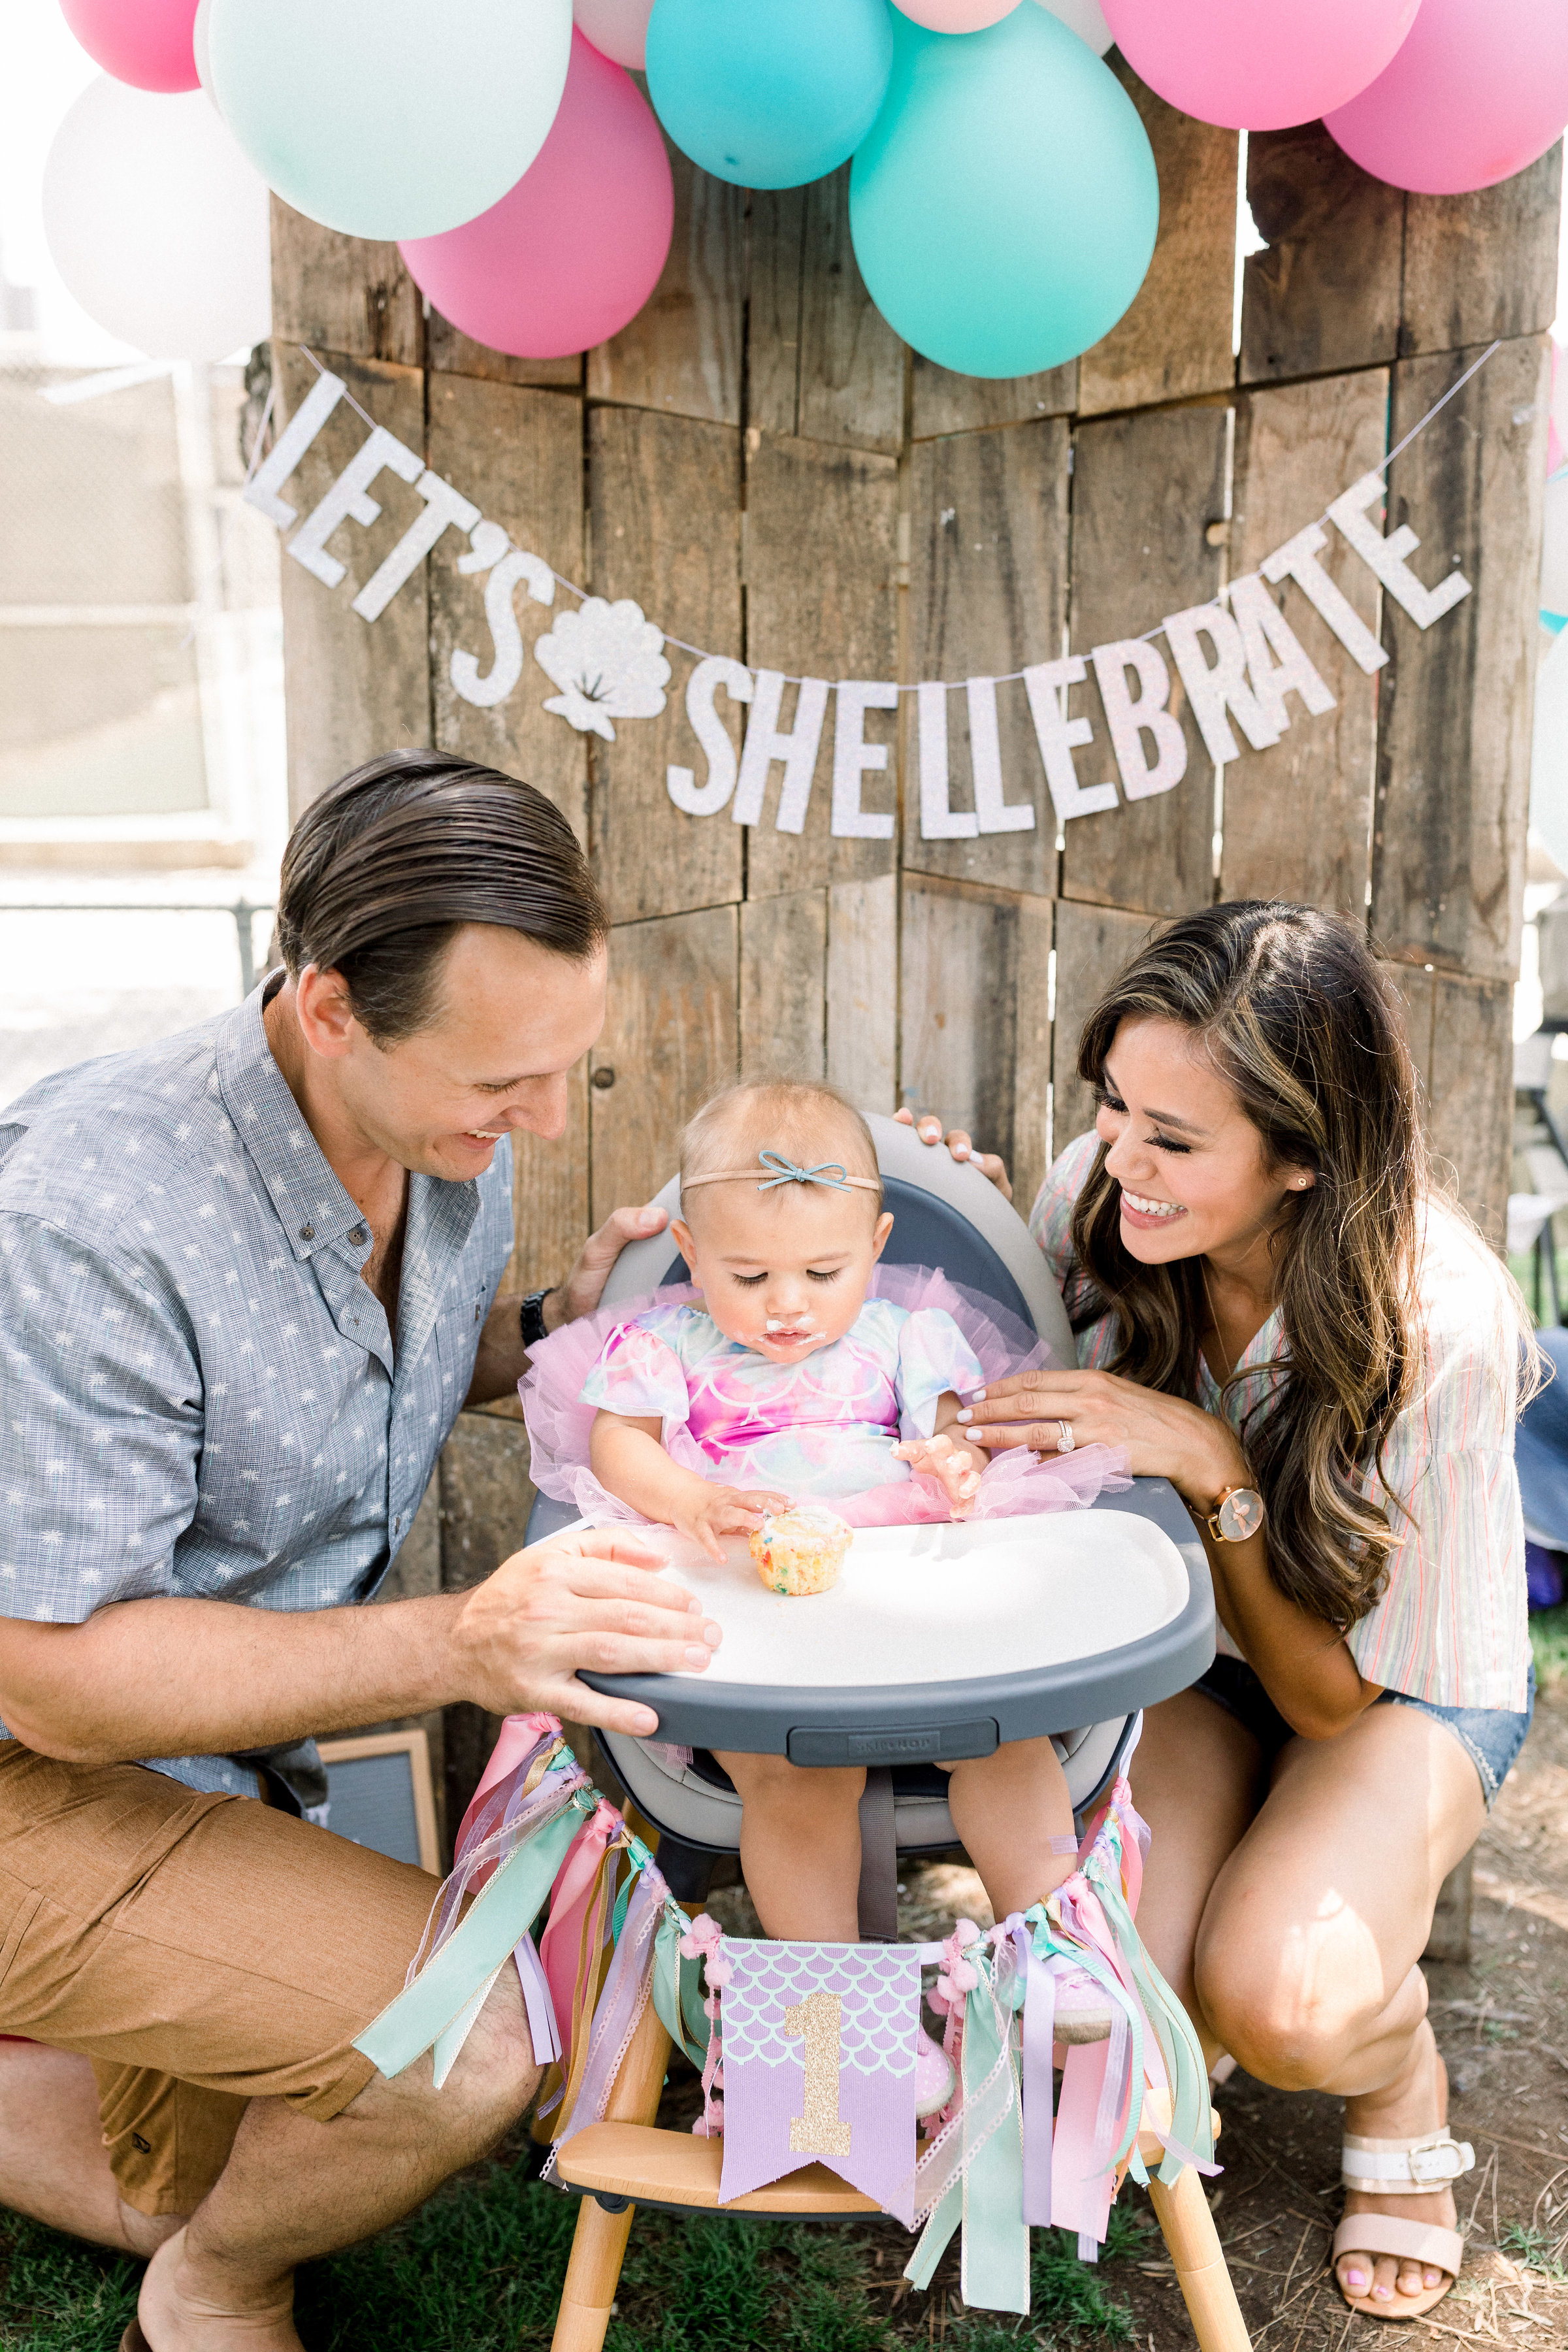
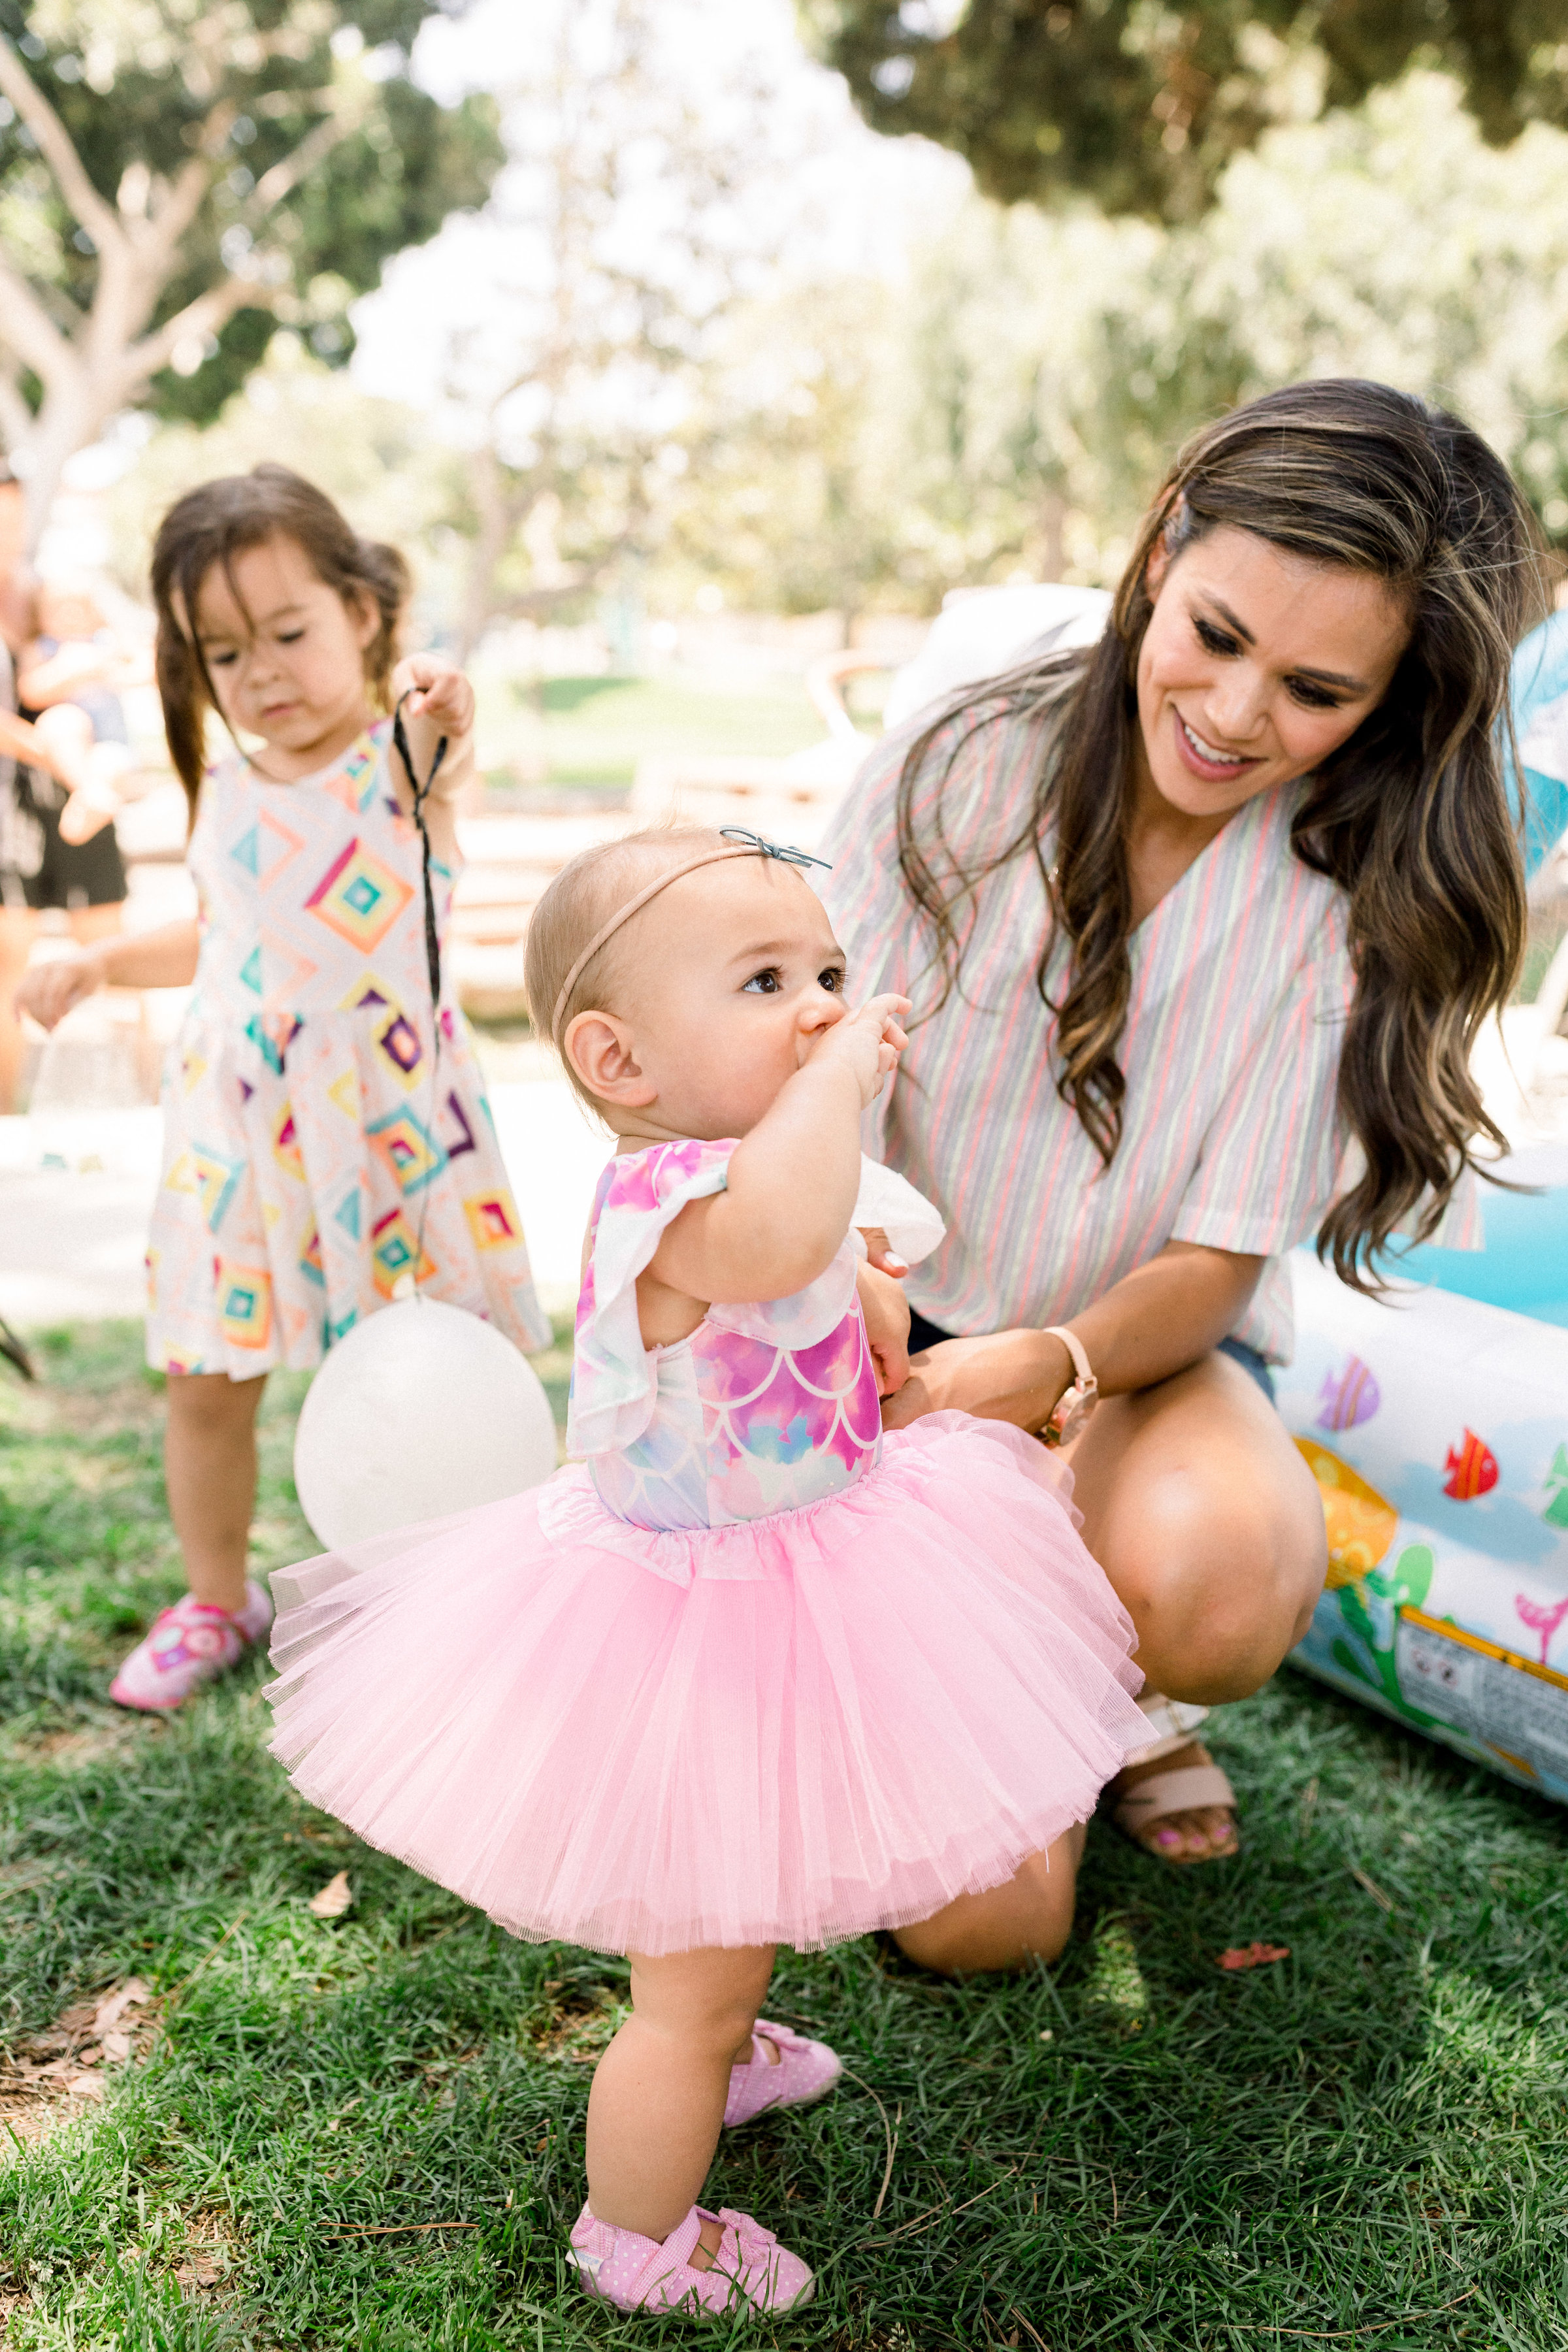
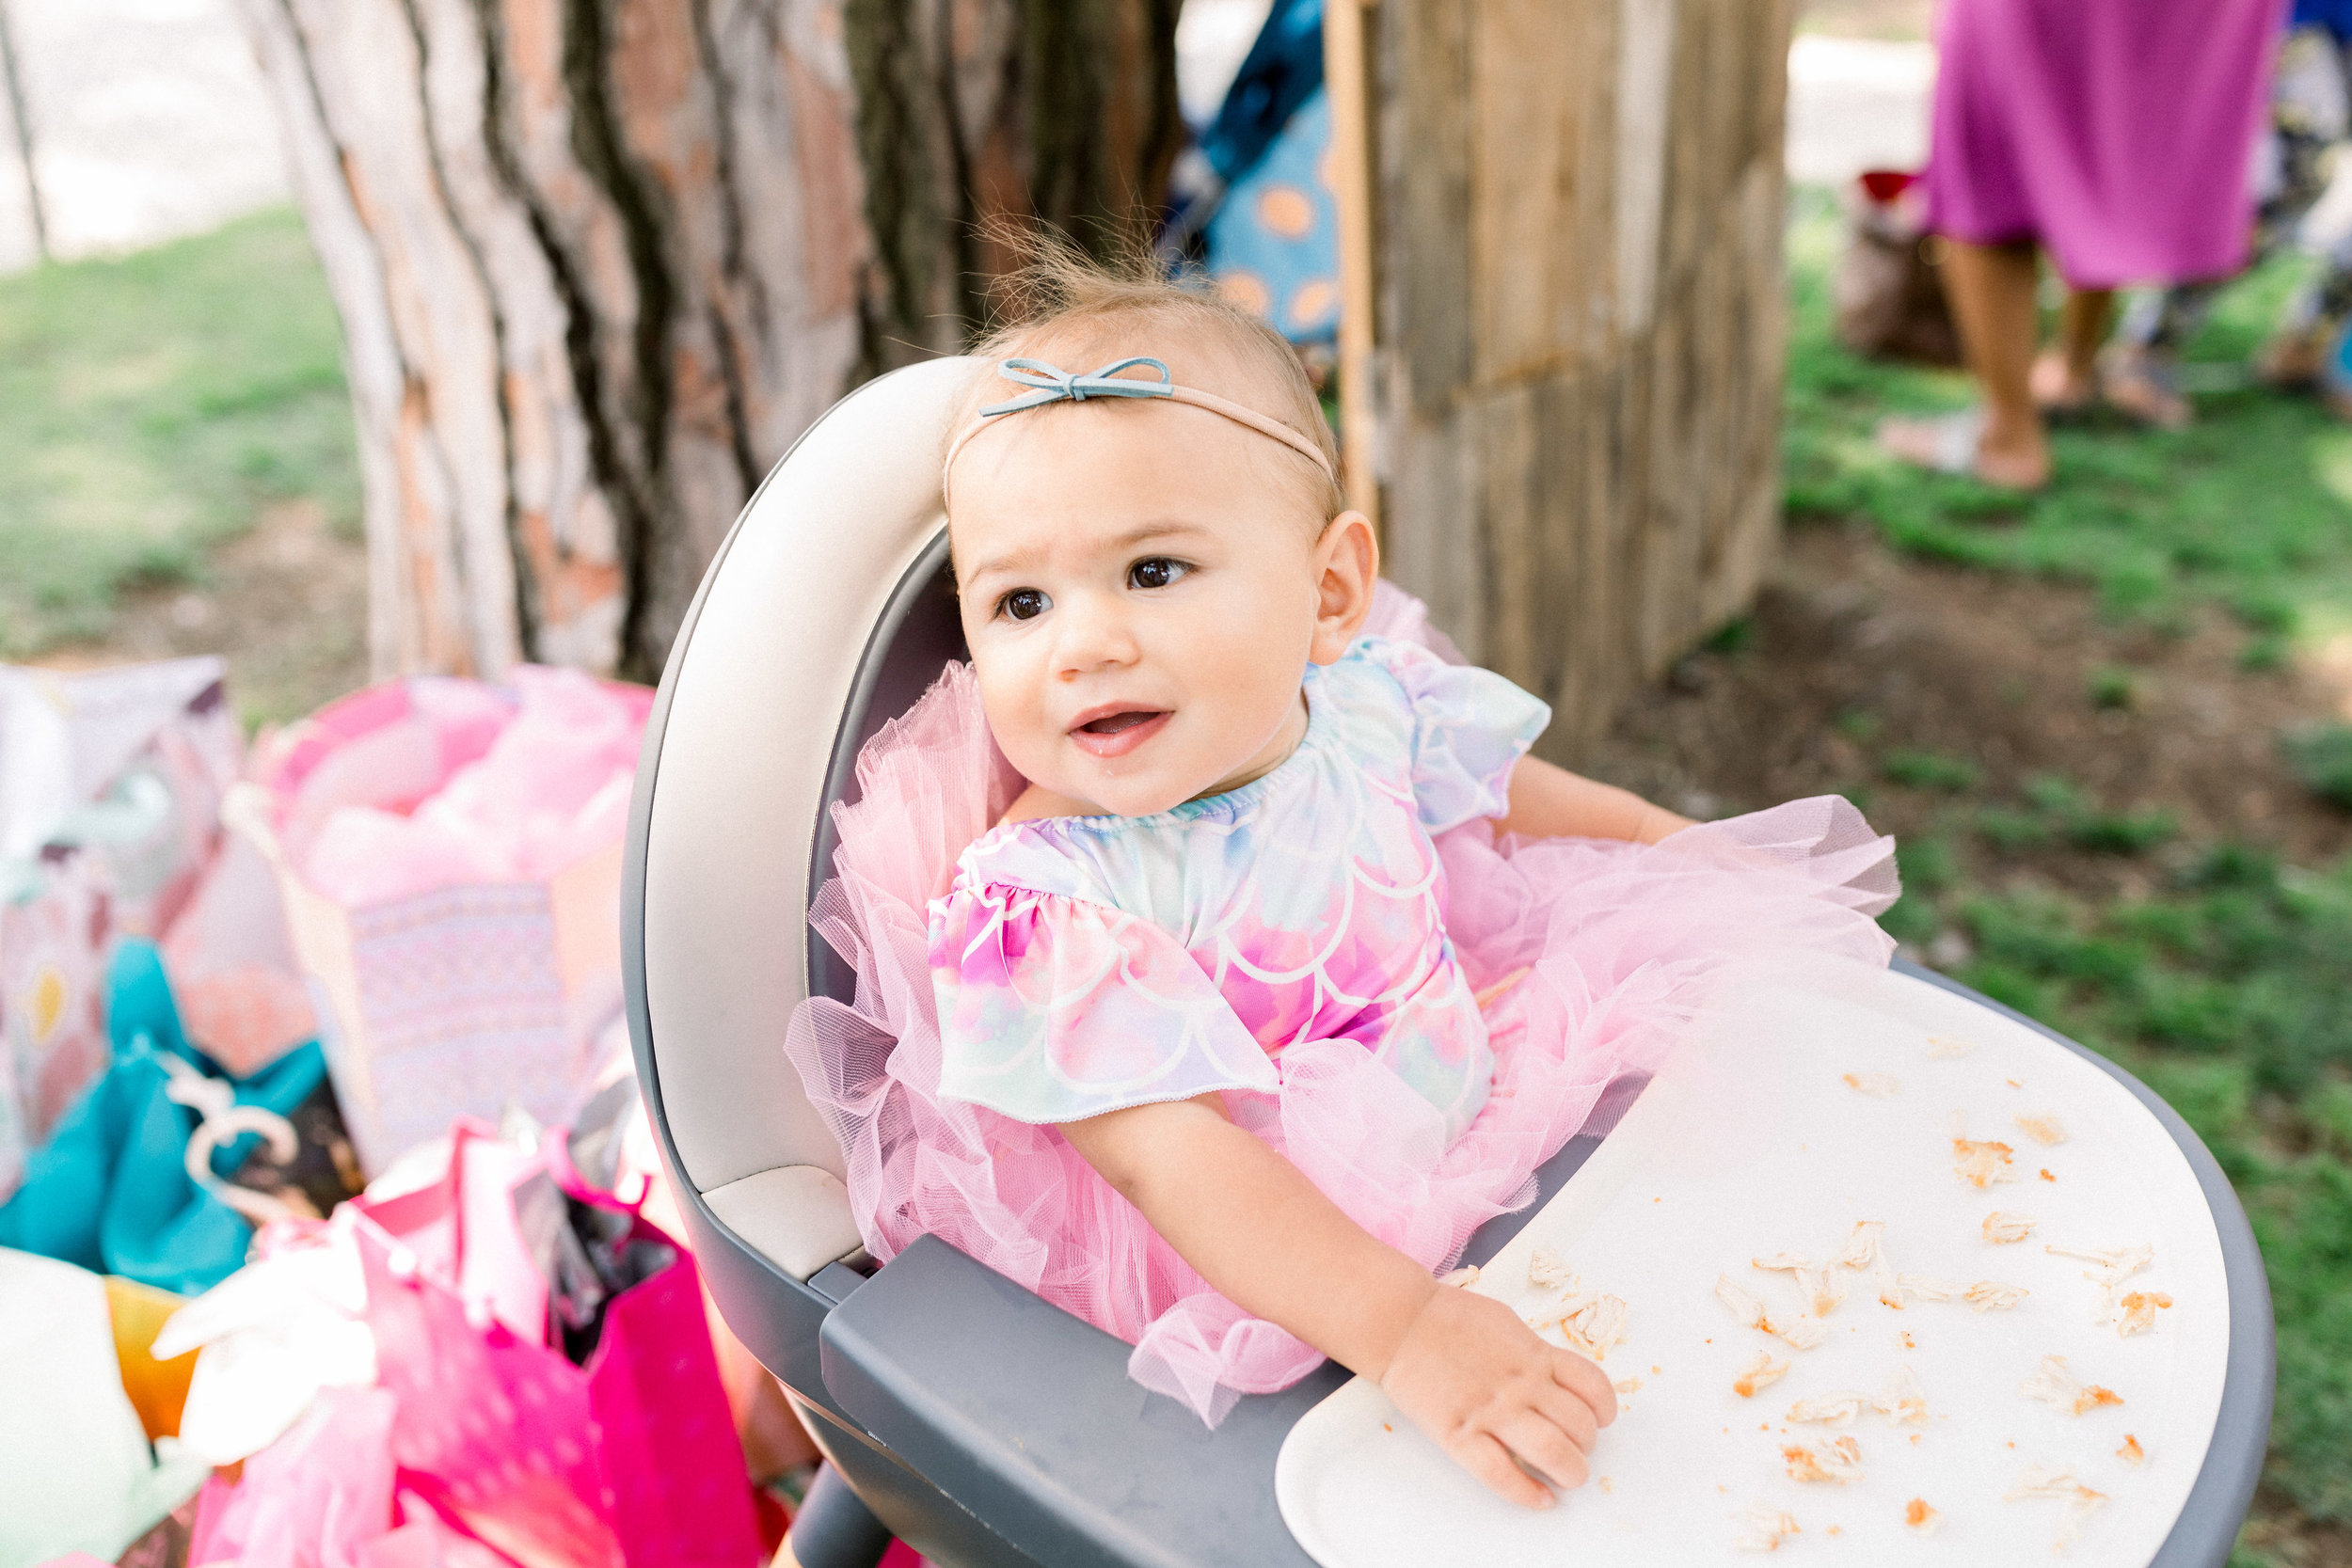
The inspiration for her party began with the sweet ruffled one piece she wore. I bought this on Amazon a few months after she was born because I liked it so much but never really planned on it being her birthday outfit. After months of looking at it hanging in her closet, I couldn't wait for her to wear it for her special day. I like that it has the mermaid scales and pastel watercolors without being a true mermaid costume/outfit. When I added the pink tutu all of a sudden it was the perfect birthday ensemble.
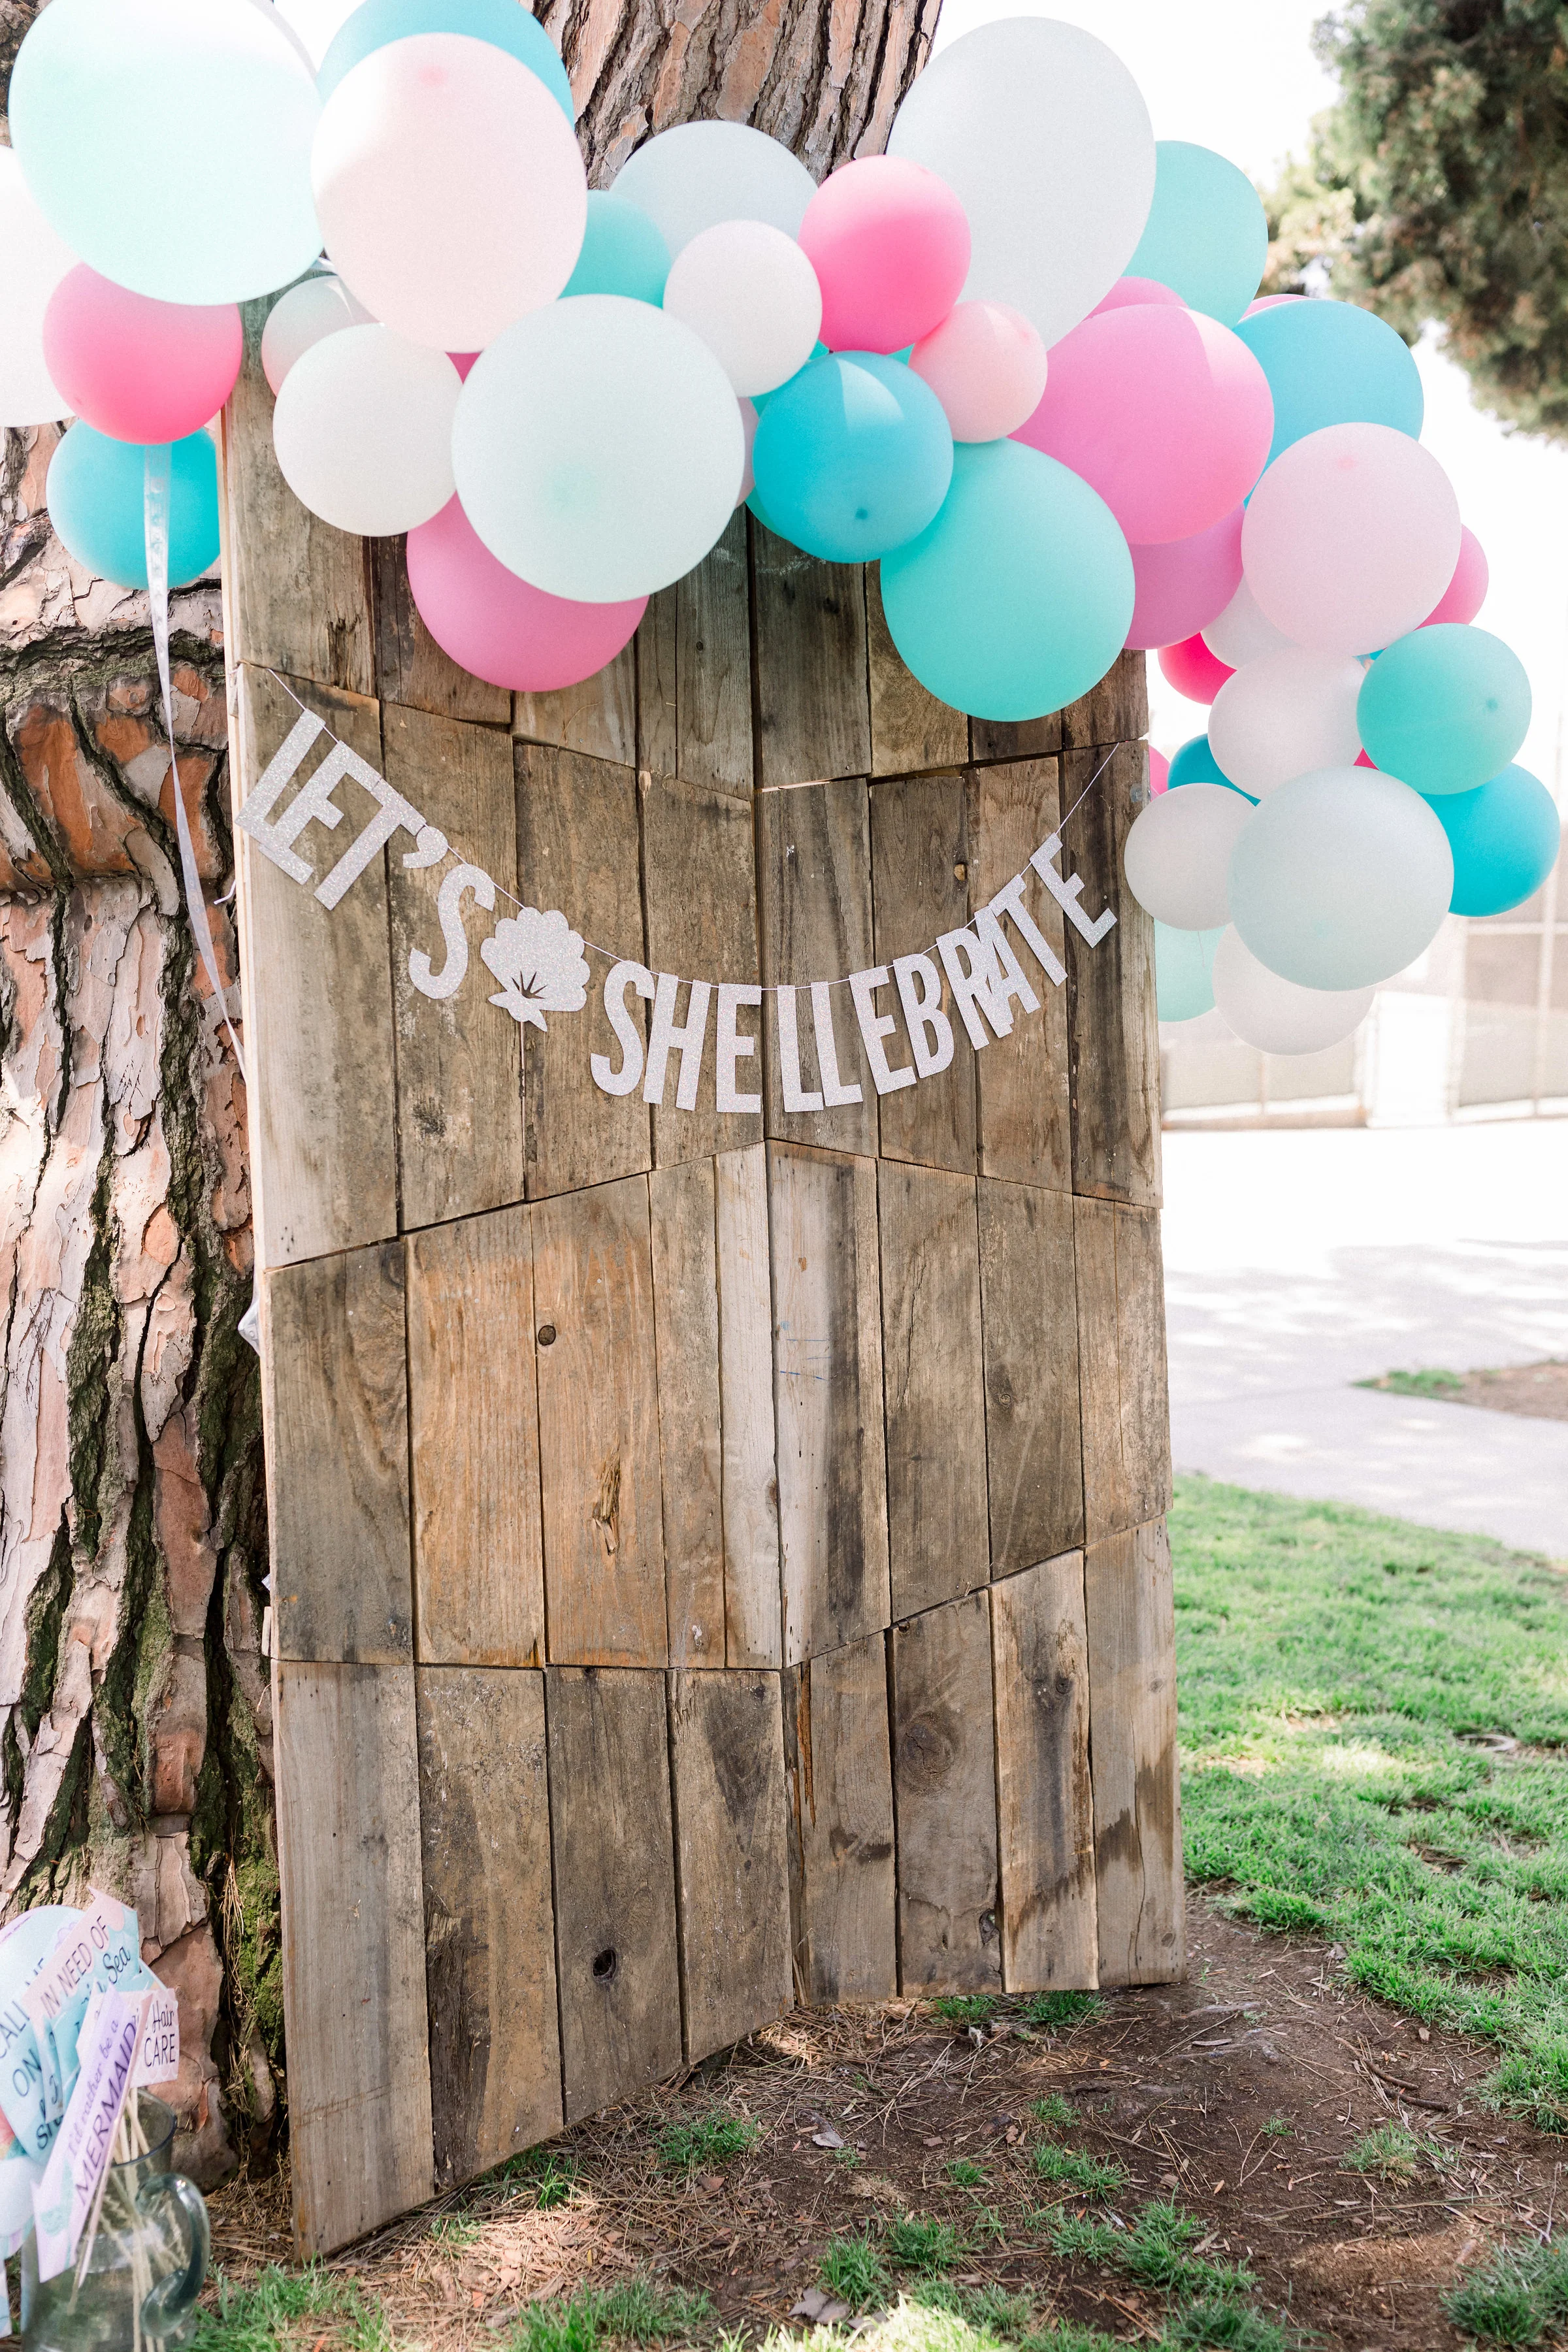
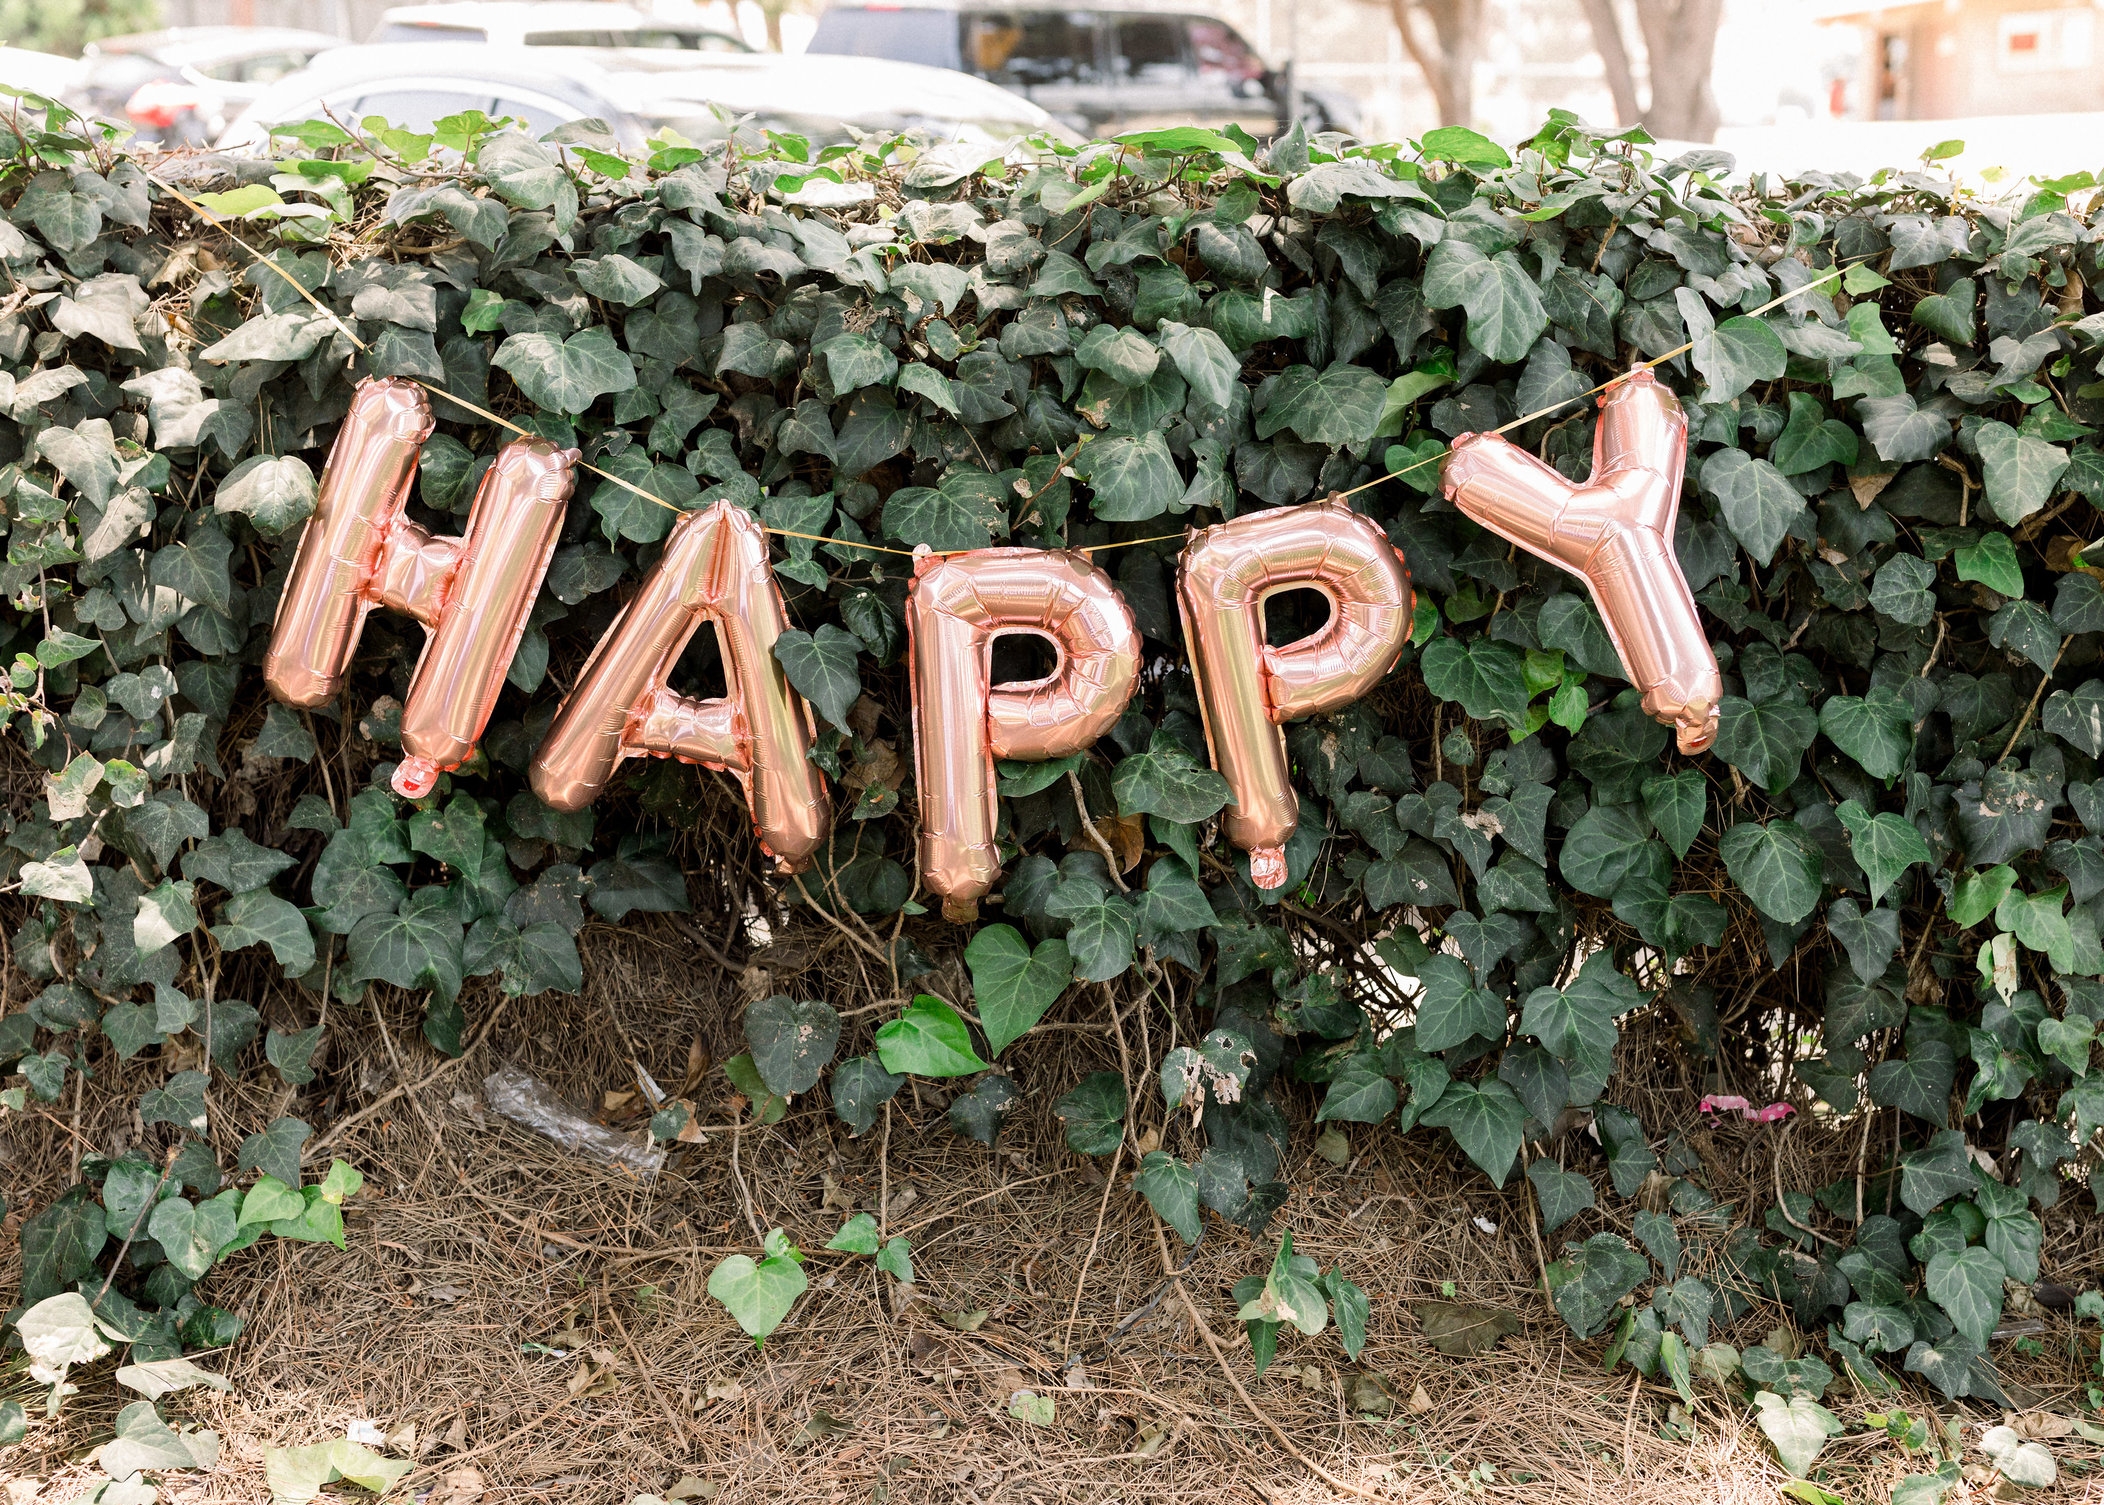
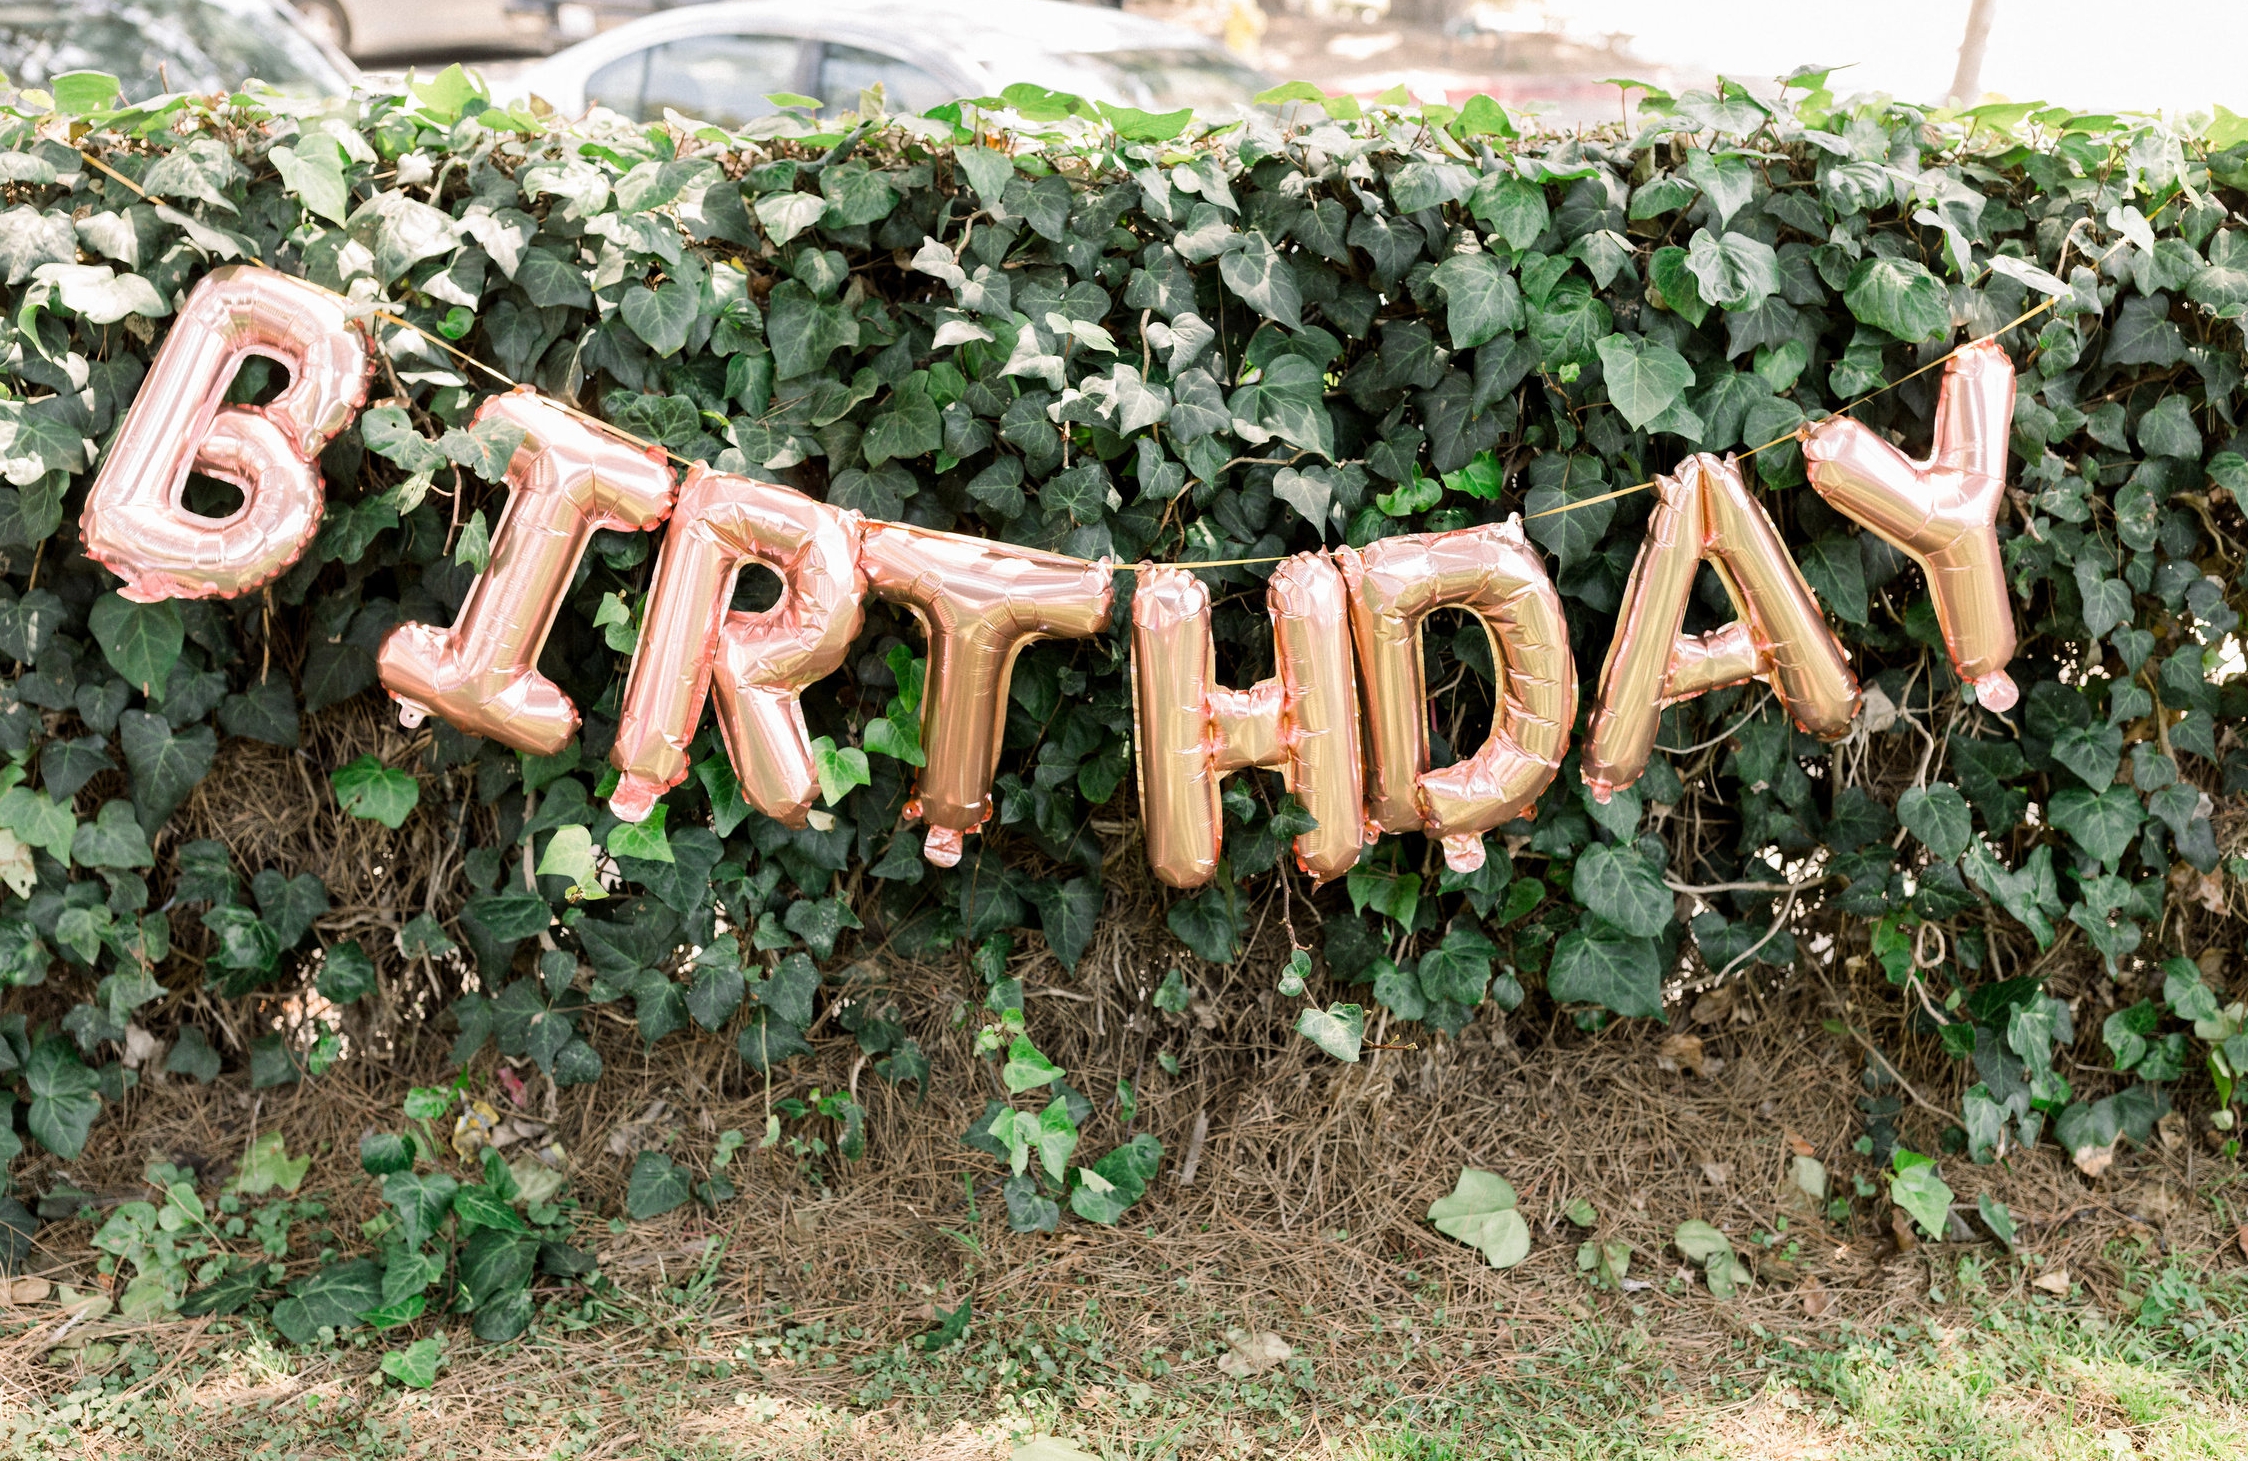
Our favorite park felt like the best spot to celebrate. There's plenty of room for all of her friends and their families and I liked the idea that guests could bring a blanket and we could all party under the trees. The only predicament with this idea was figuring out where to hang decor and how to make the large space personal for our birthday girl. One night I was wasting hours on Pinterest when I showed Mr. A a balloon arch and backdrop. I explained to him how I didn't know where I was going to hang a simple Happy Birthday banner much less any other decor and he told me he'd make it for me. Wait. What? He said he'd make a backdrop for the party. Maybe two of them. We had a ton of reclaimed wood on the side of the house his dad had given us from old projects/who-knows-what-else and he'd make them for me. You guys-I HAD NO IDEA Mr. Amazing was so handy when I married him. I mean-the man is actually beyond handy. He is a home engineer! He fixes things, builds things, did a ton of remodeling on our house and so much more. In two days he had created two wood backdrops.

I'm obsessed with them. Oh but his help with the party didn't stop there. The man pretty much created both of the balloon arches in one evening so there's that too. I totally scored the best husband. Granted these balloon arches look way more complicated than they actually are. I should have taken tutorial photos to share but it's not even necessary cause anyone can make these. All you need is balloon tape, balloons and a balloon pump (to make your life easier). The balloon tape is a plastic ribbon with holes where you place the tied balloons. Once you've blown up your balloons in various sizes, you just push each balloon tie into the holes on the ribbon (alternating colors and sizes). Once you have the length you want, simply cut the ribbon and fasten the arch. We used a staple gun to attach our balloon arches to the wood backdrops. If at this point you want to fill in any spaces and build out your arch with other balloons to make it fuller, you can tape them on, use glue dots or use a low temperature glue gun to add more. We ended up being pretty satisfied with how it looked the way it was! I think the real key is making sure you use different colored balloons that are still complimentary. I love these affordable variety packs I found and I still had balloons leftover!

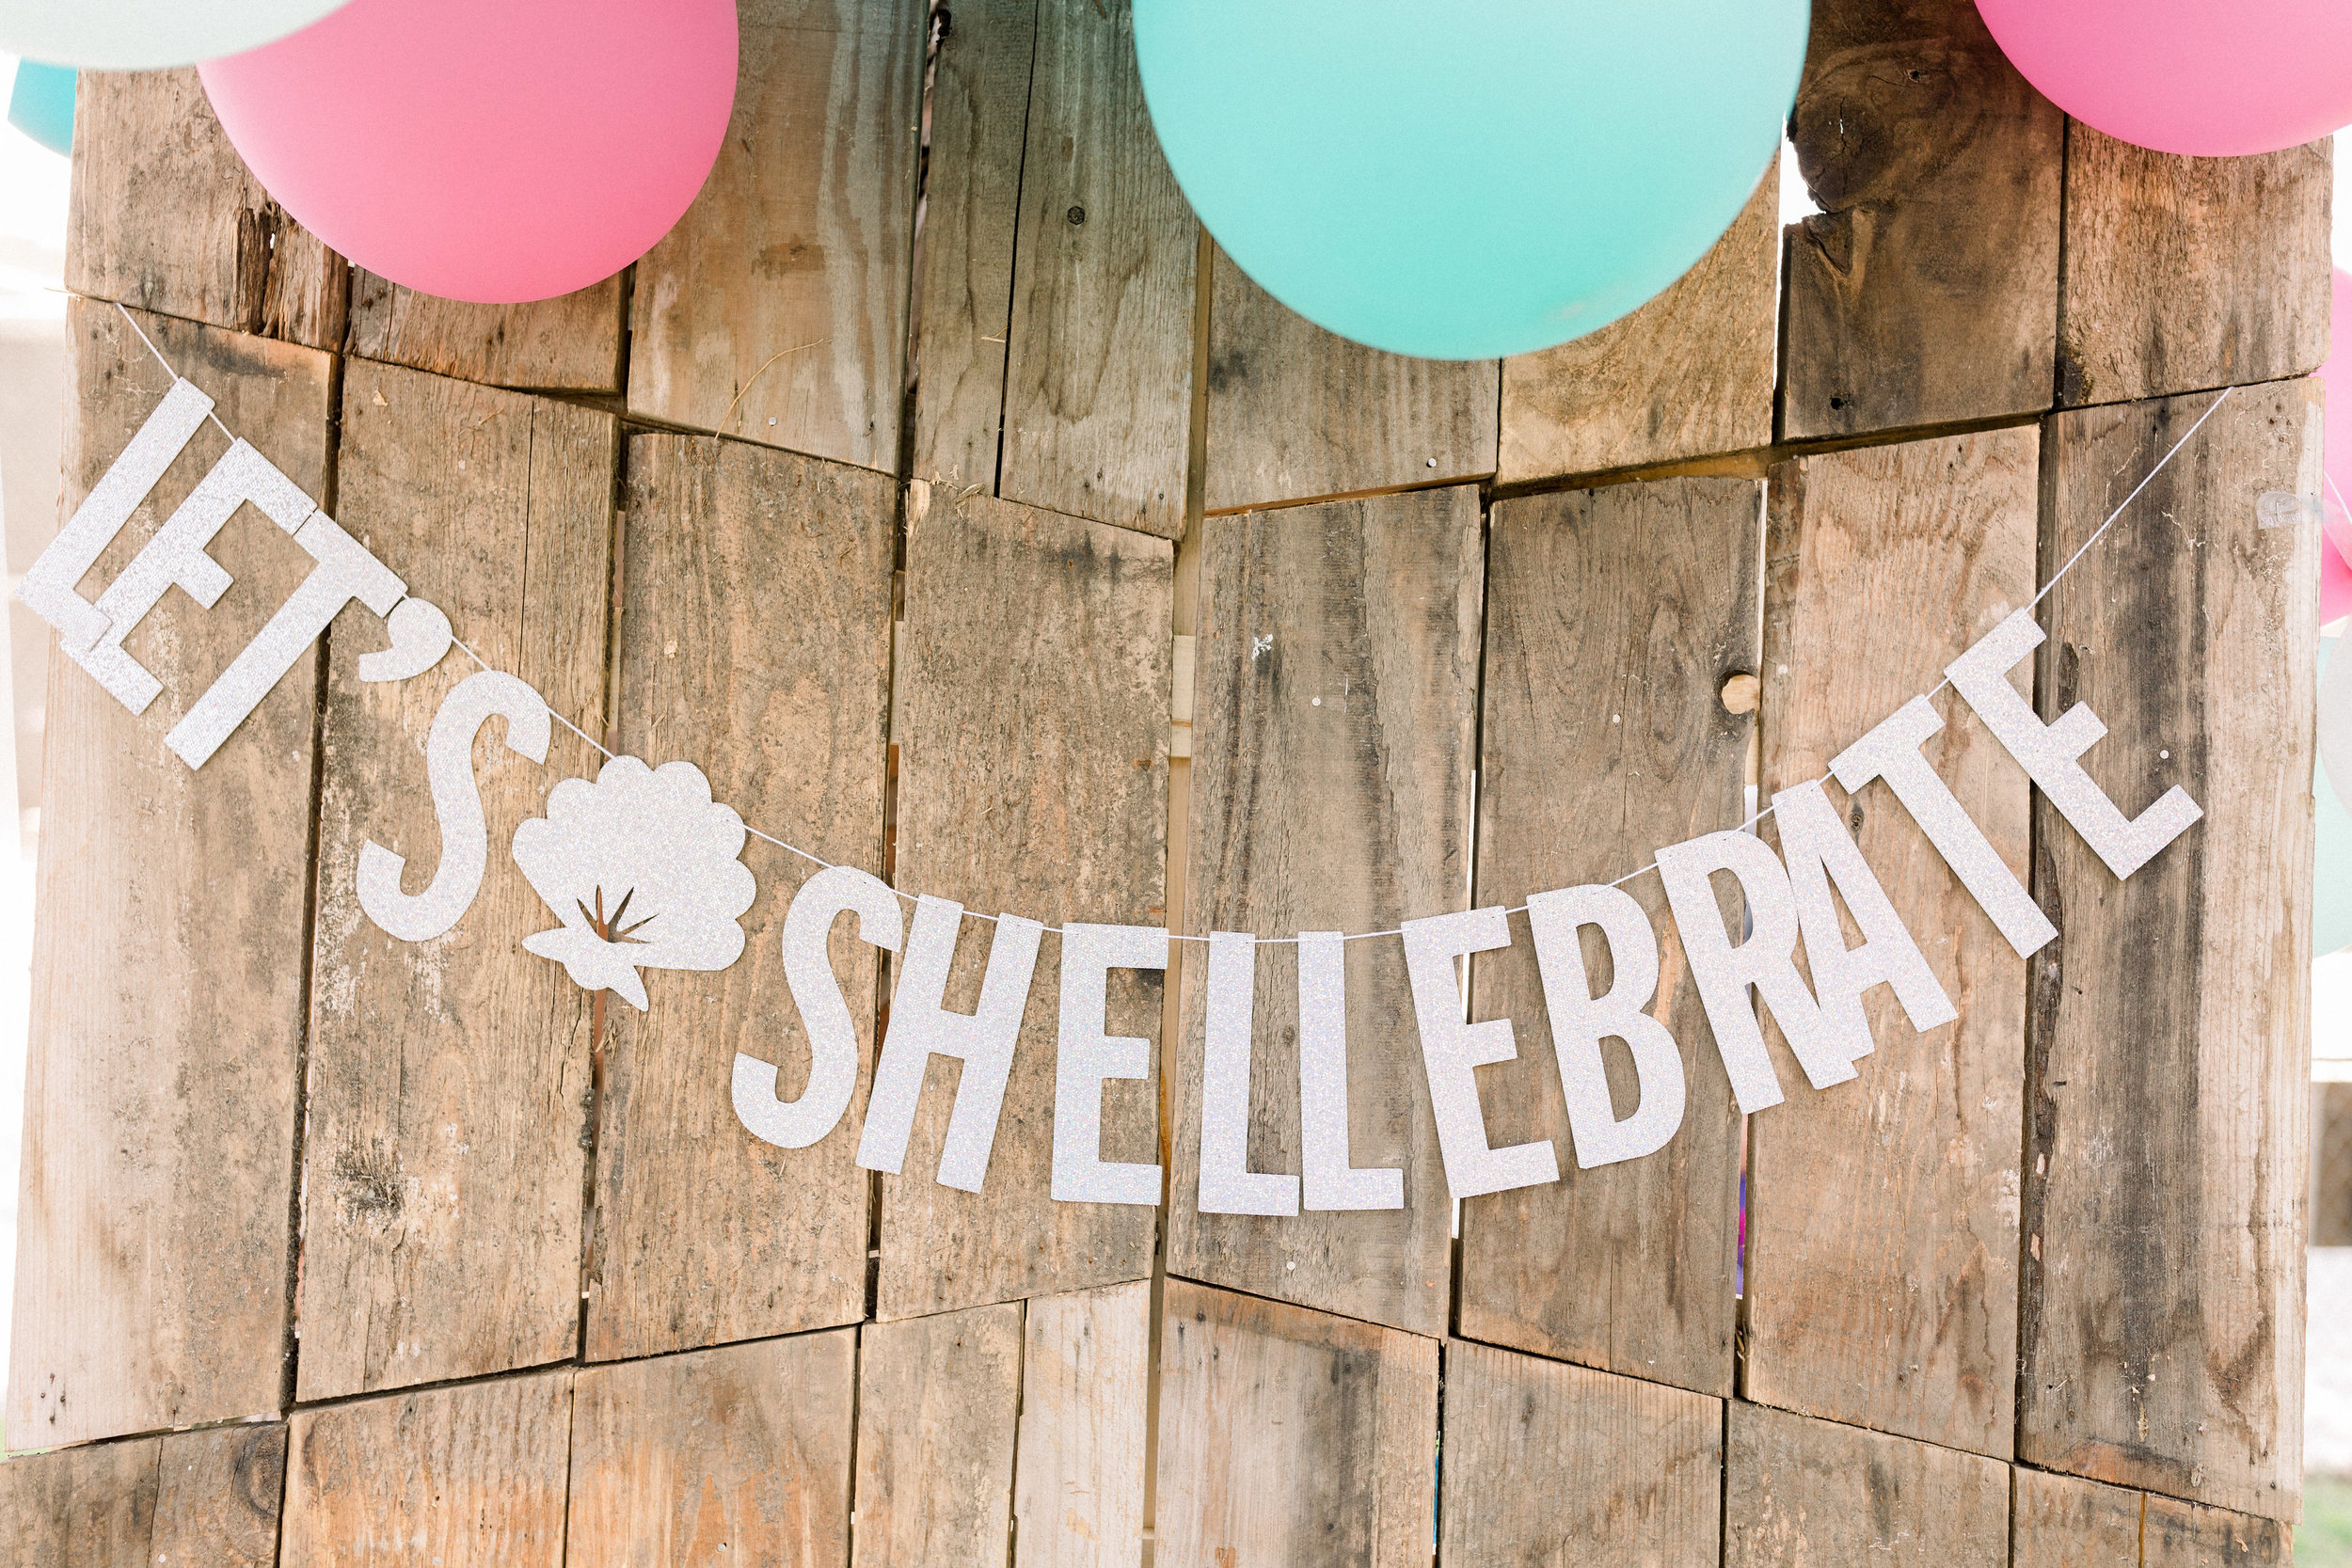
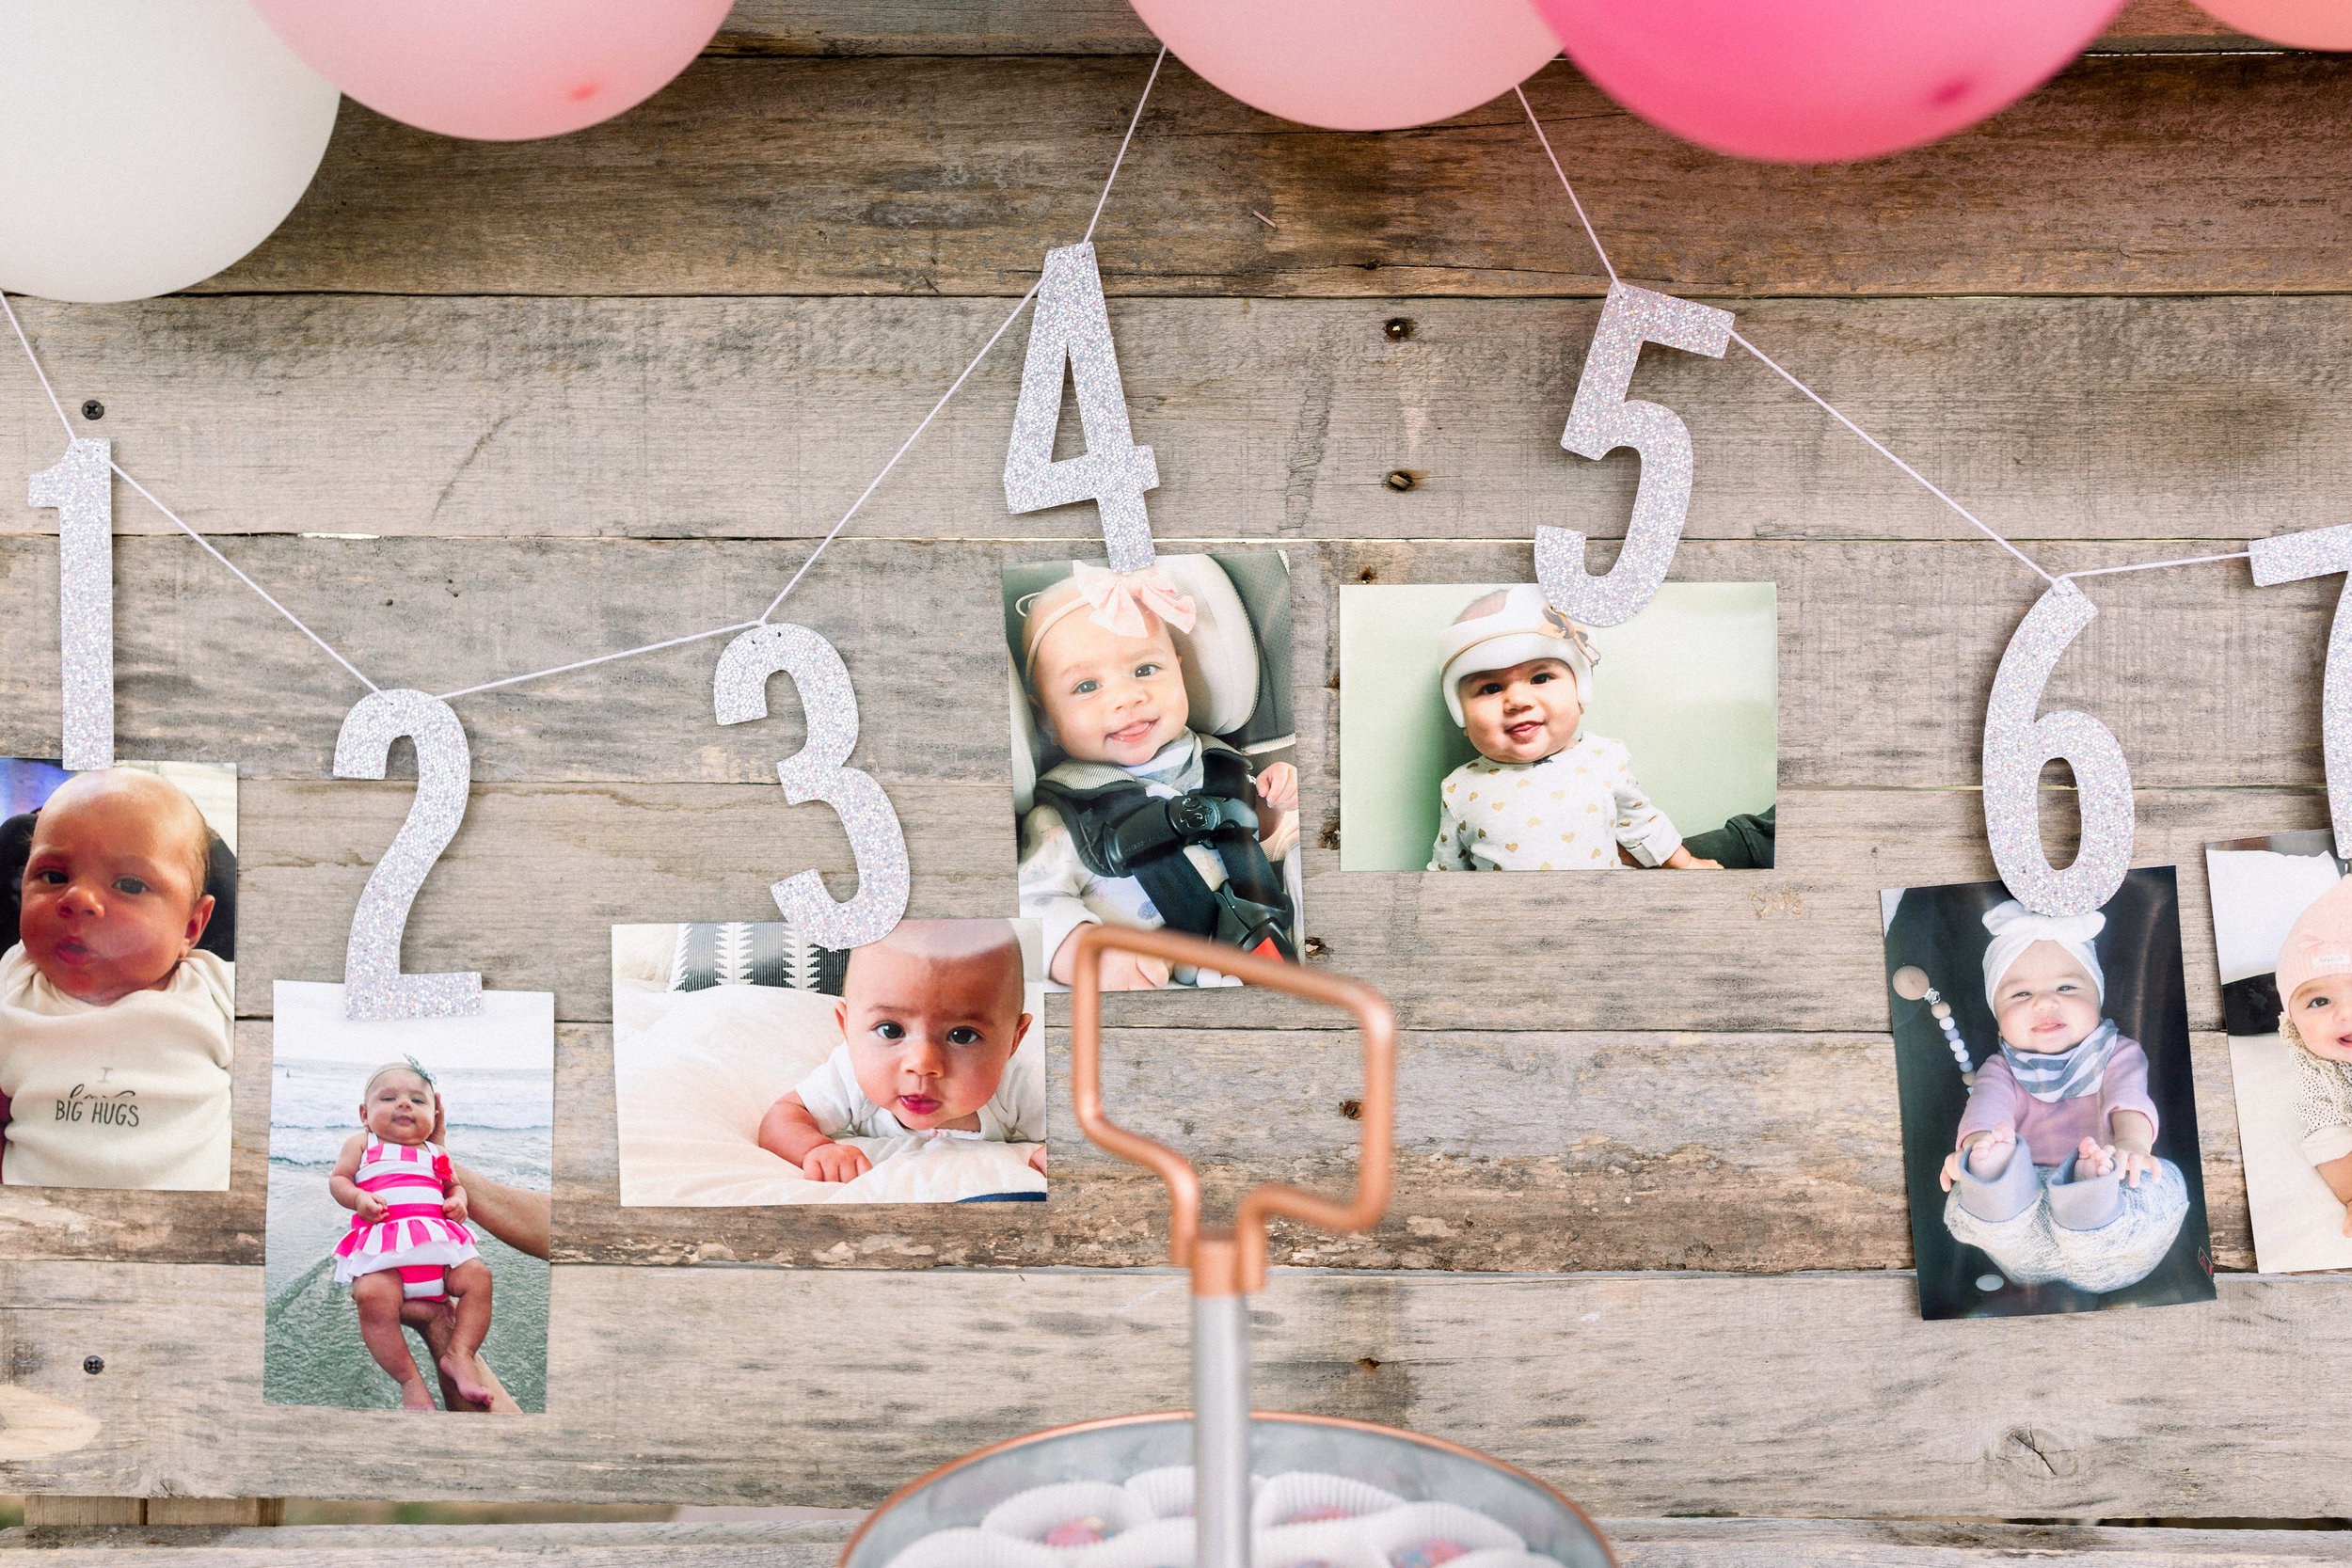
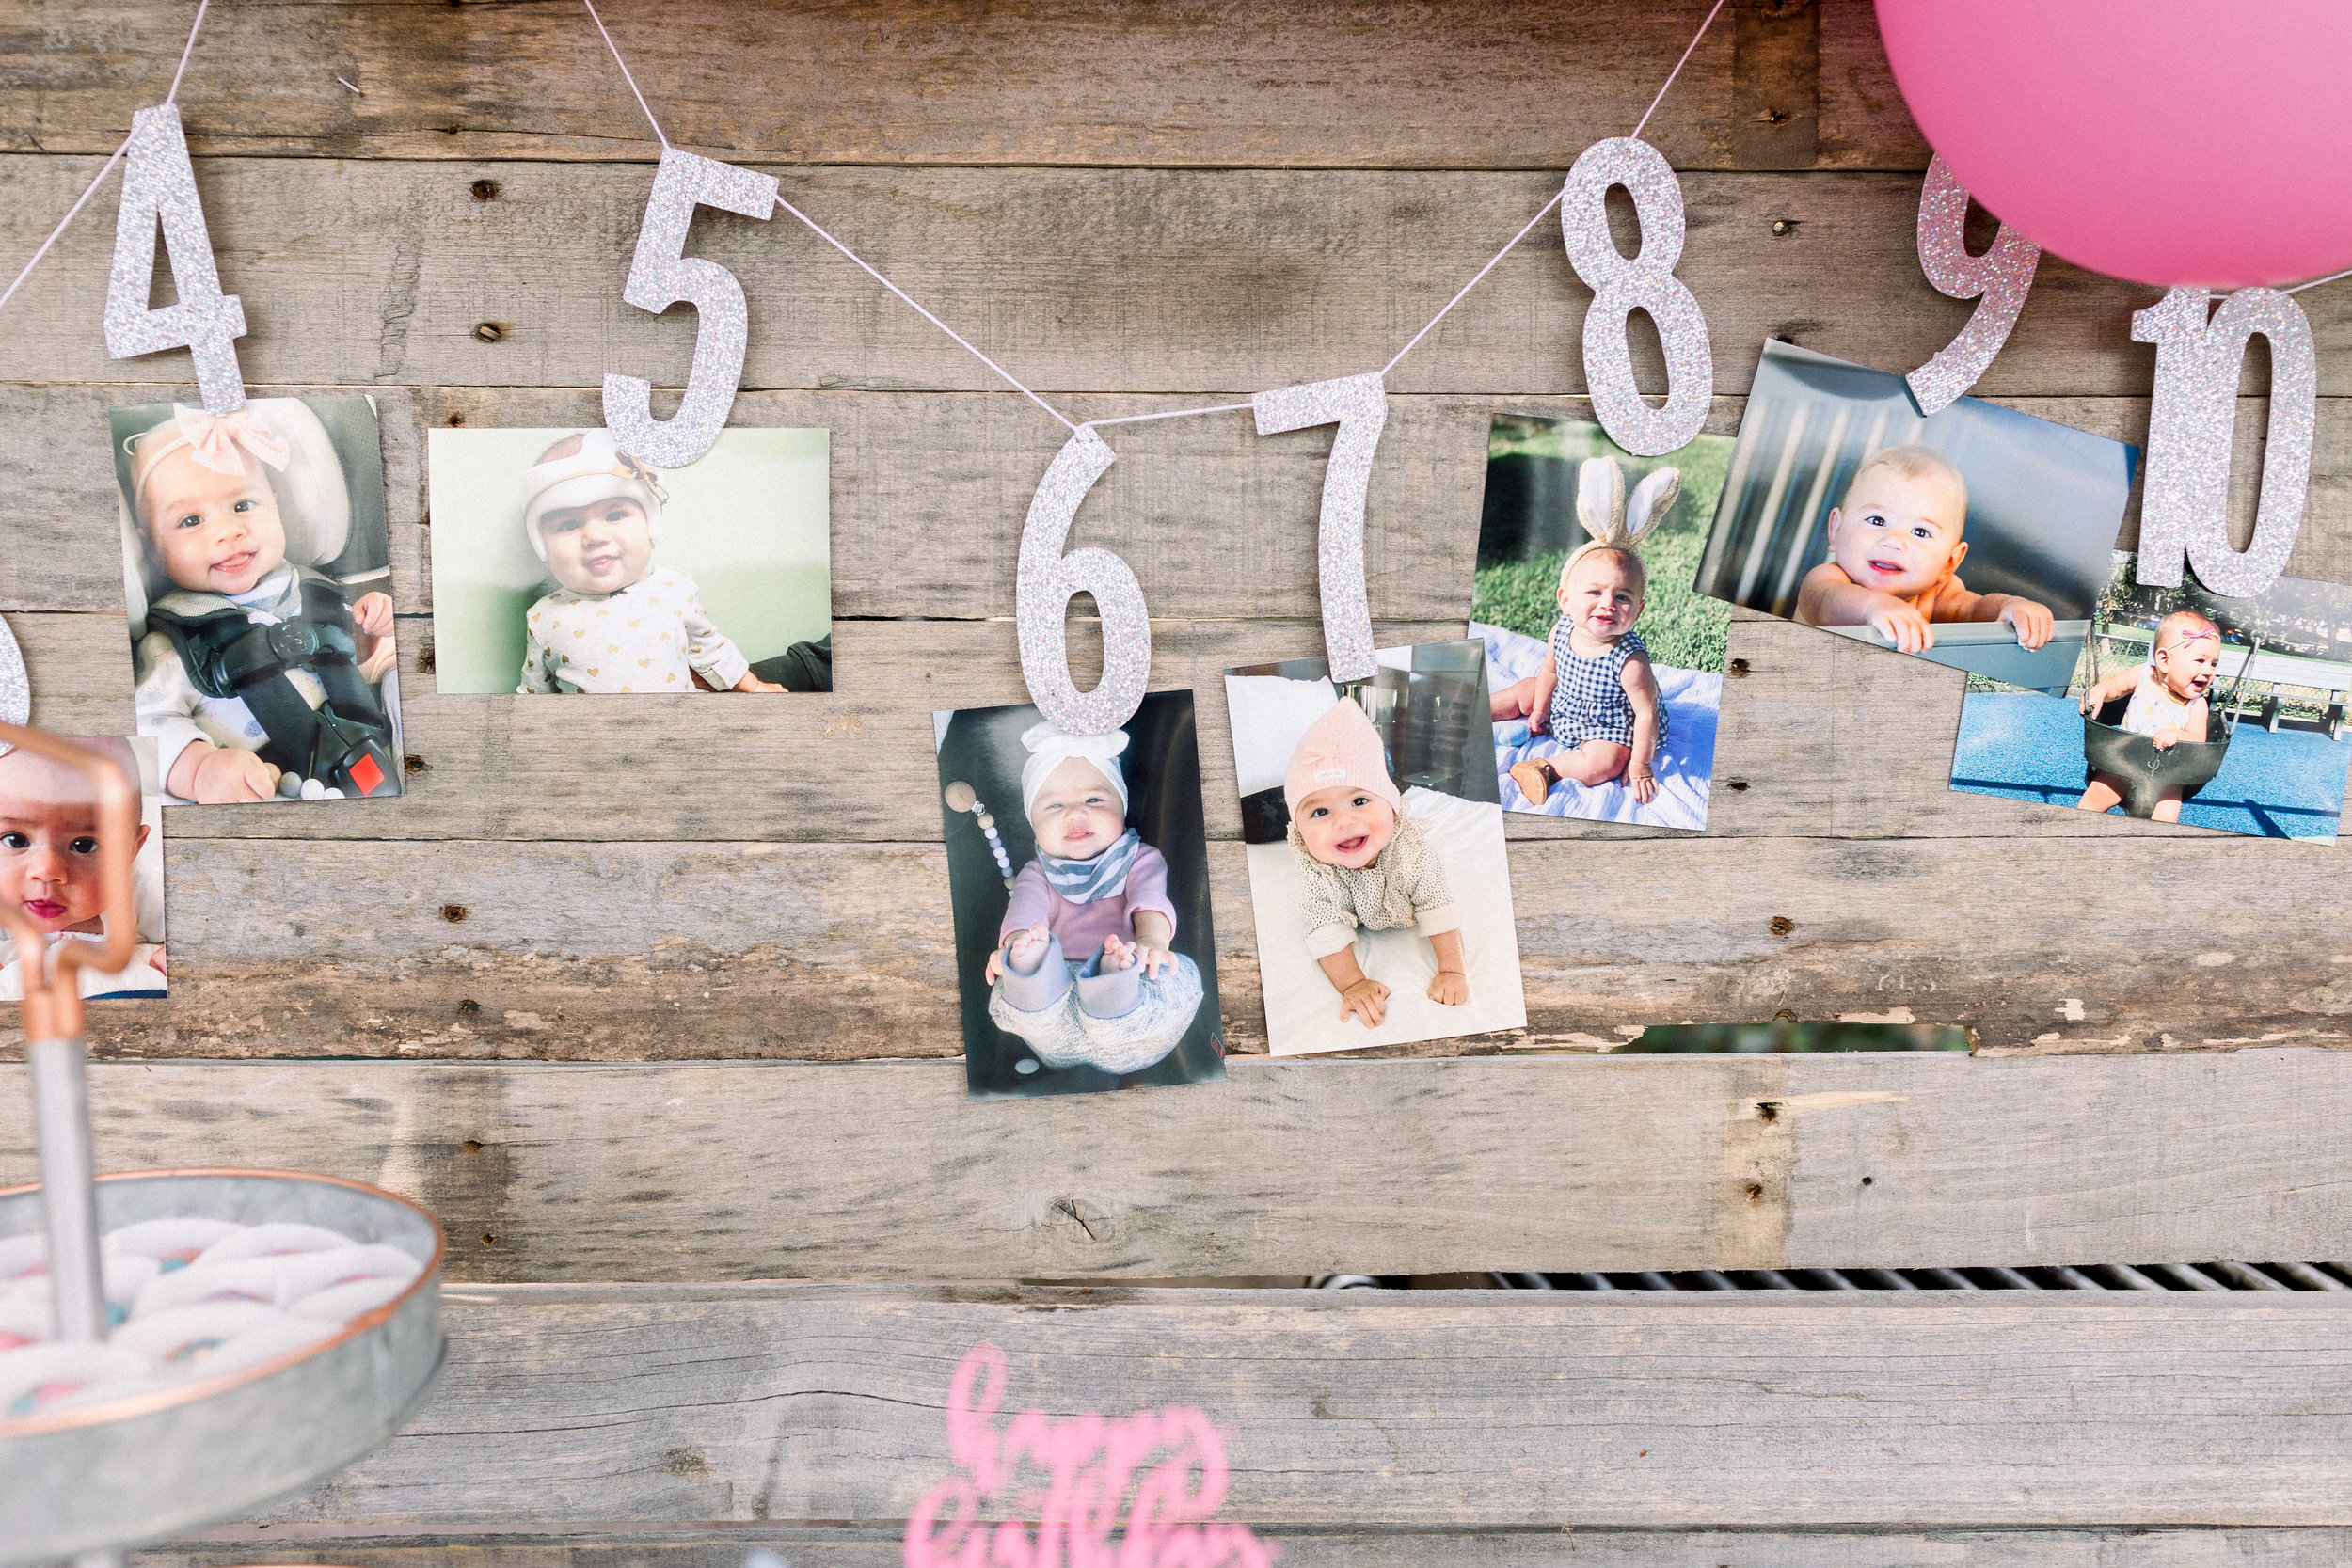
But I think what really made the backdrops were the two banners we got from Glam Banners. It's tough to tell in the photo but both the "Let's Shellebrate" and the monthly photo banner are made with this fun disco glitter card stock so they catch the light and have this fun colorful prism look. I just adore the playfulness of the Let's Shellebrate banner and the monthly photo banner holding Milly's pics from month 1-12 is a must have at any first birthday party! It's so sweet to see the changes month to month!


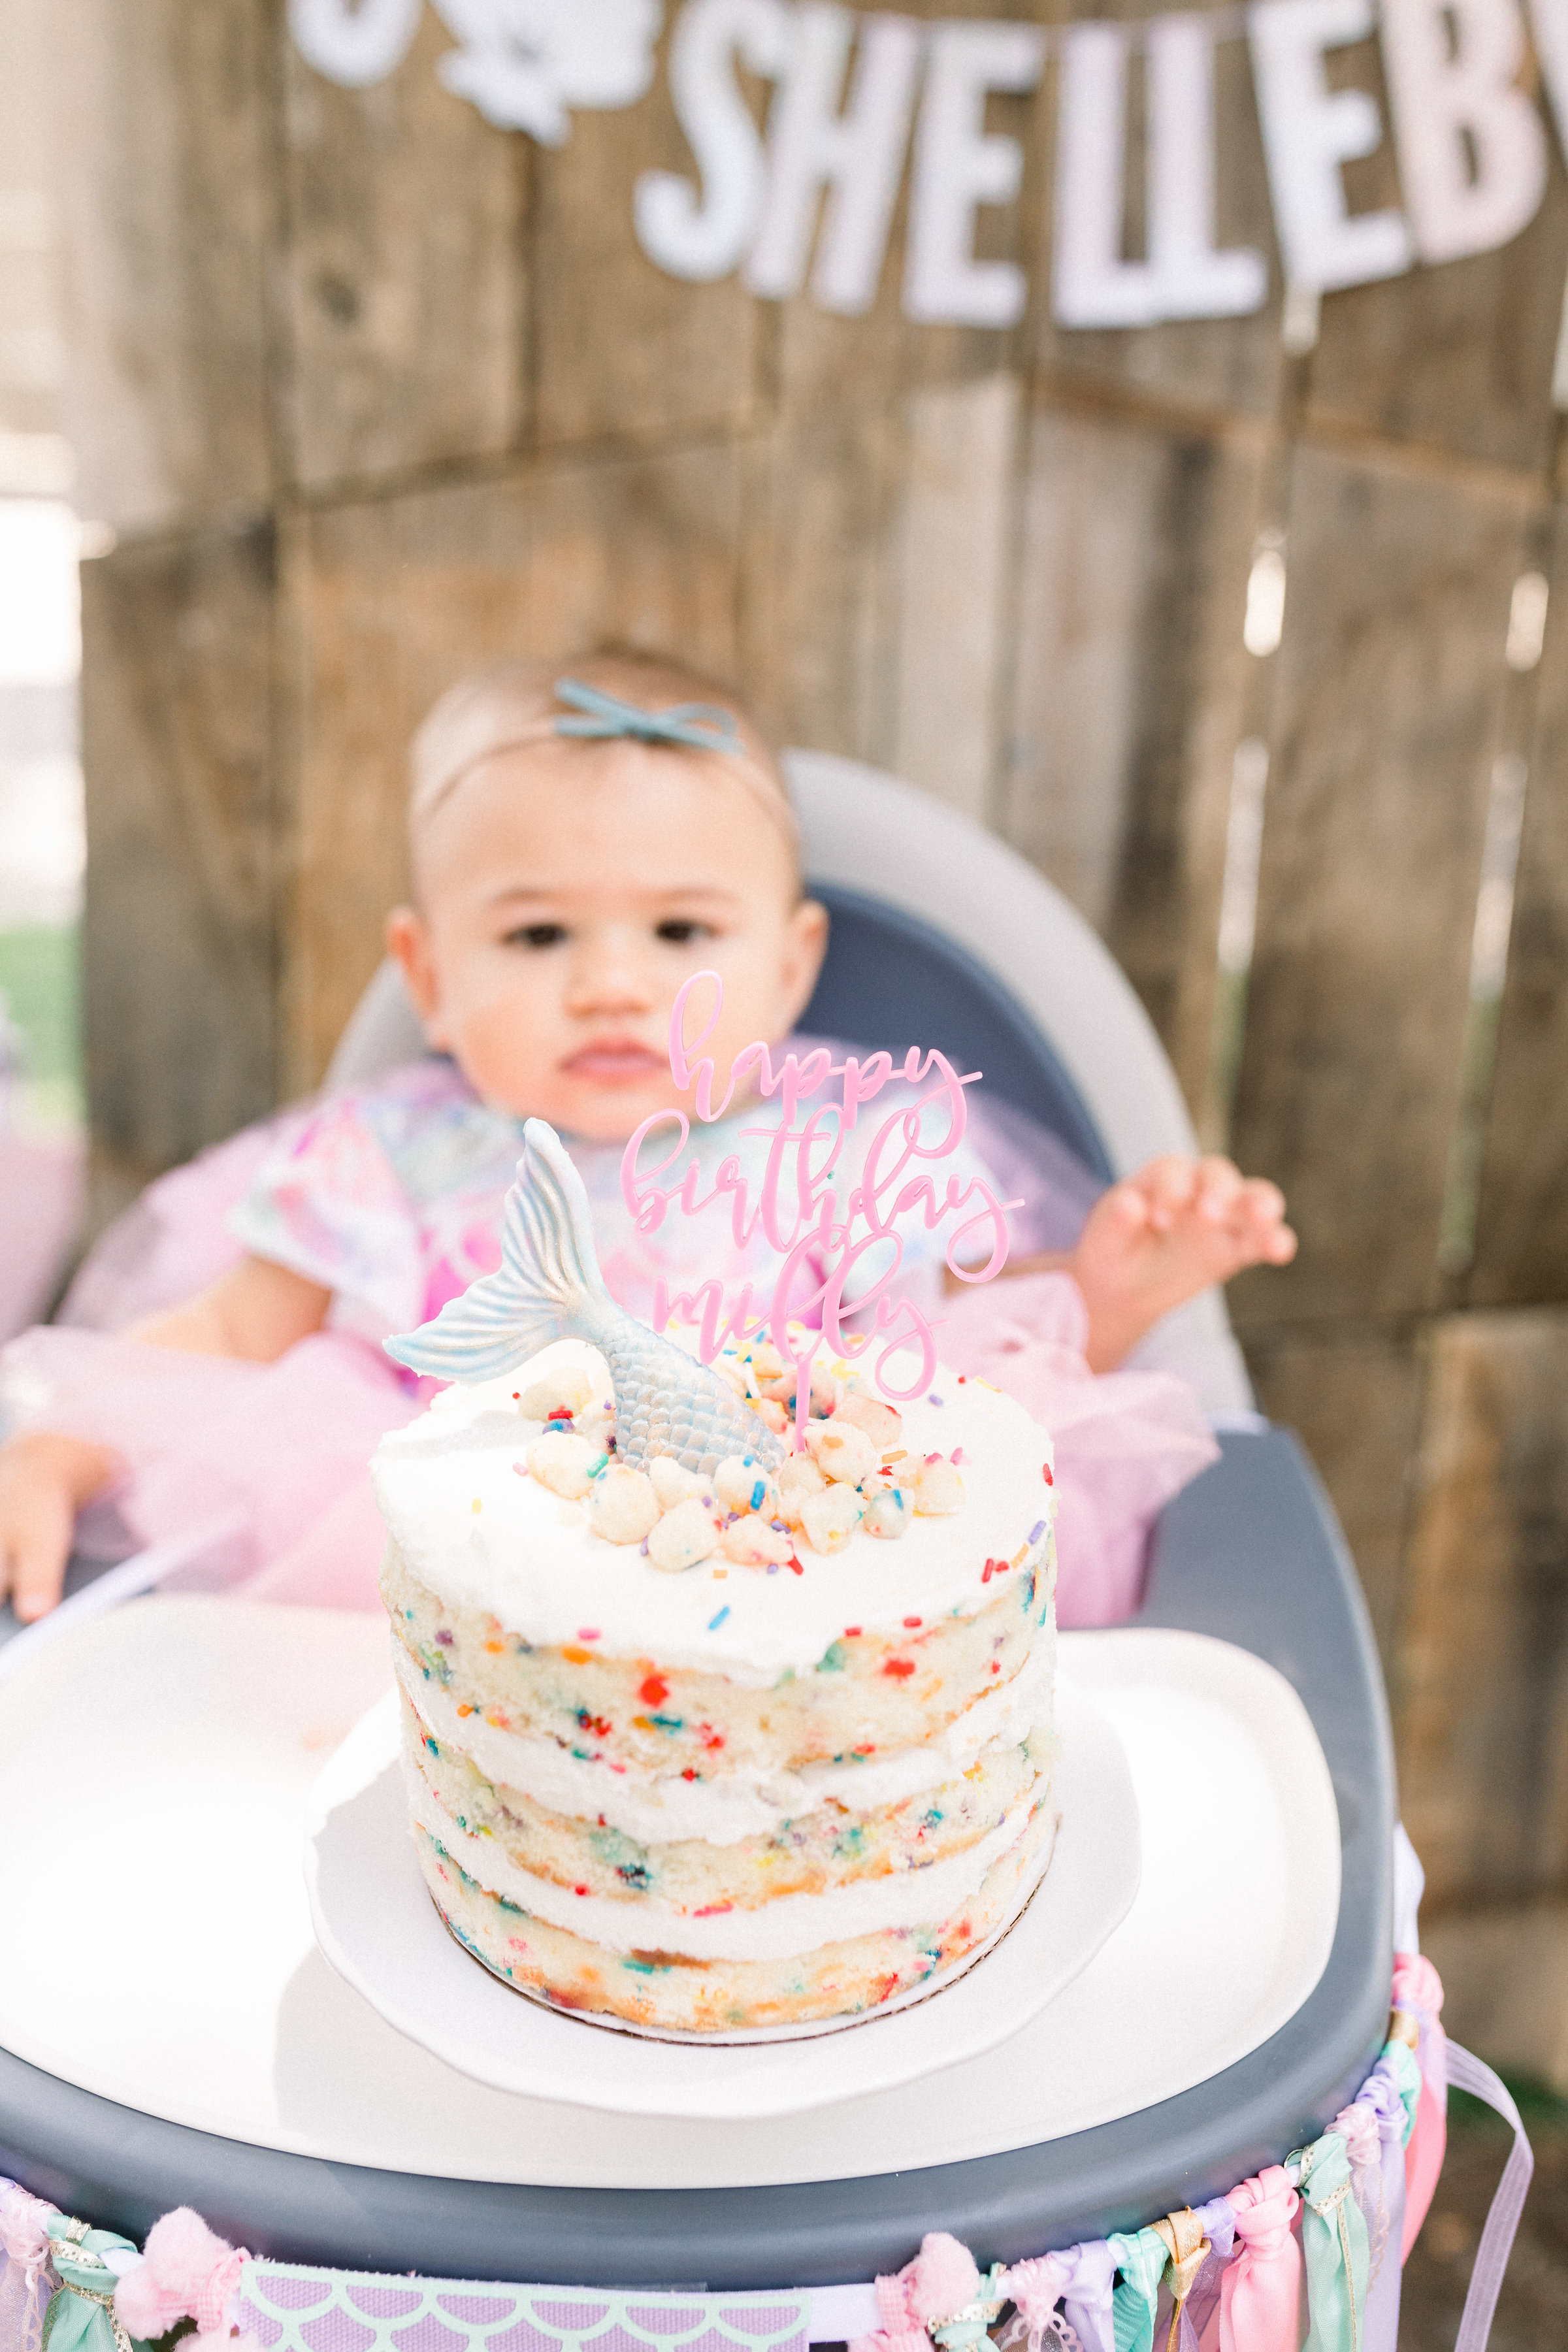
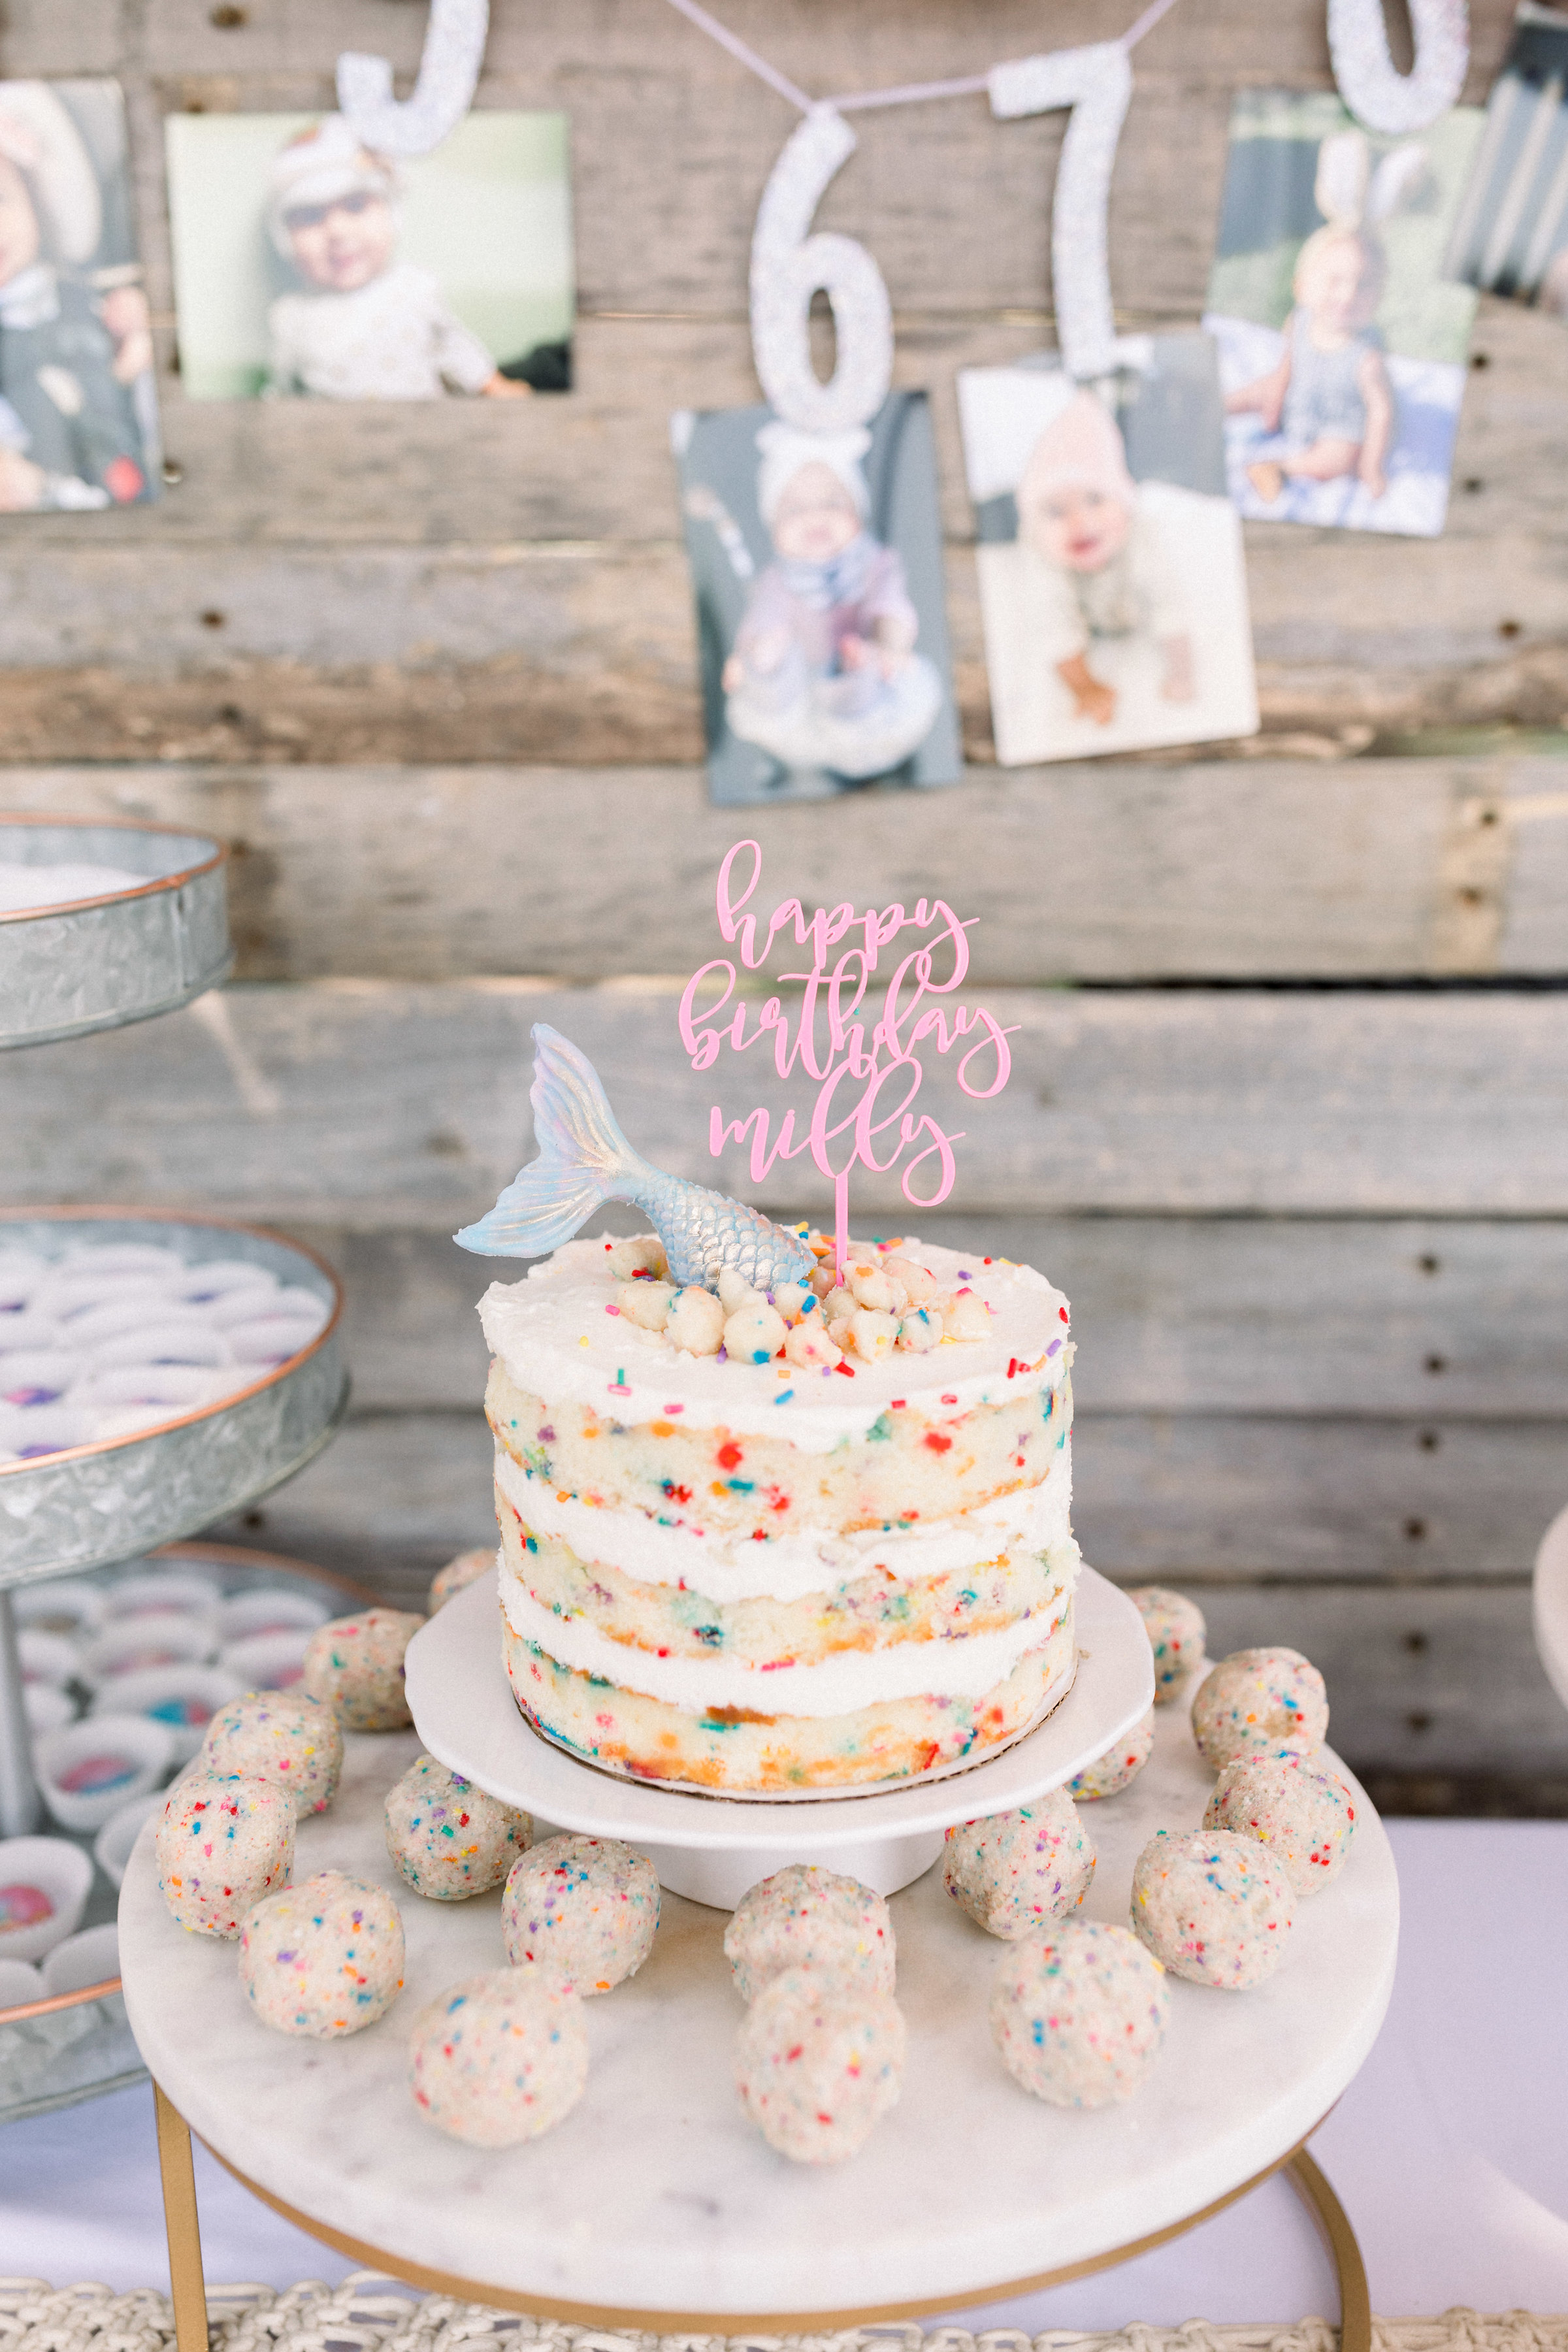
Mr. A and I went back and forth on if we were going to let Milly enjoy a smash cake. I mean we wanted her to enjoy something and I couldn't wait to hang this adorable high chair banner I got on Etsy. As you know, Milly's been self feeding since 6 months so she is very capable and able to pick up a ton of cake and frosting at a time. She's definitely not one of those kids that will just poke at a cake. If she sees food in front of her, she's devouring all of it. But all of this sugar can't be good for any child, especially a 1 year old so I thought I would make a carrot or zucchini cake with coco whip. Then the night before her party I absolutely bailed on that idea after having a complete melt down (literally-our city got hit with a heat wave that wouldn't let up) and I threw in the towel and went to bed deciding I would just use the Momofuku Milk Bar Birthday Cake we ordered for the dessert table as her cake. Done and done. This is one of those moments where I had to just let go of what I had planned and go with the flow. Everything in our house was melting (no AC for this beach town living family) and I was losing my mind trying to control everything.

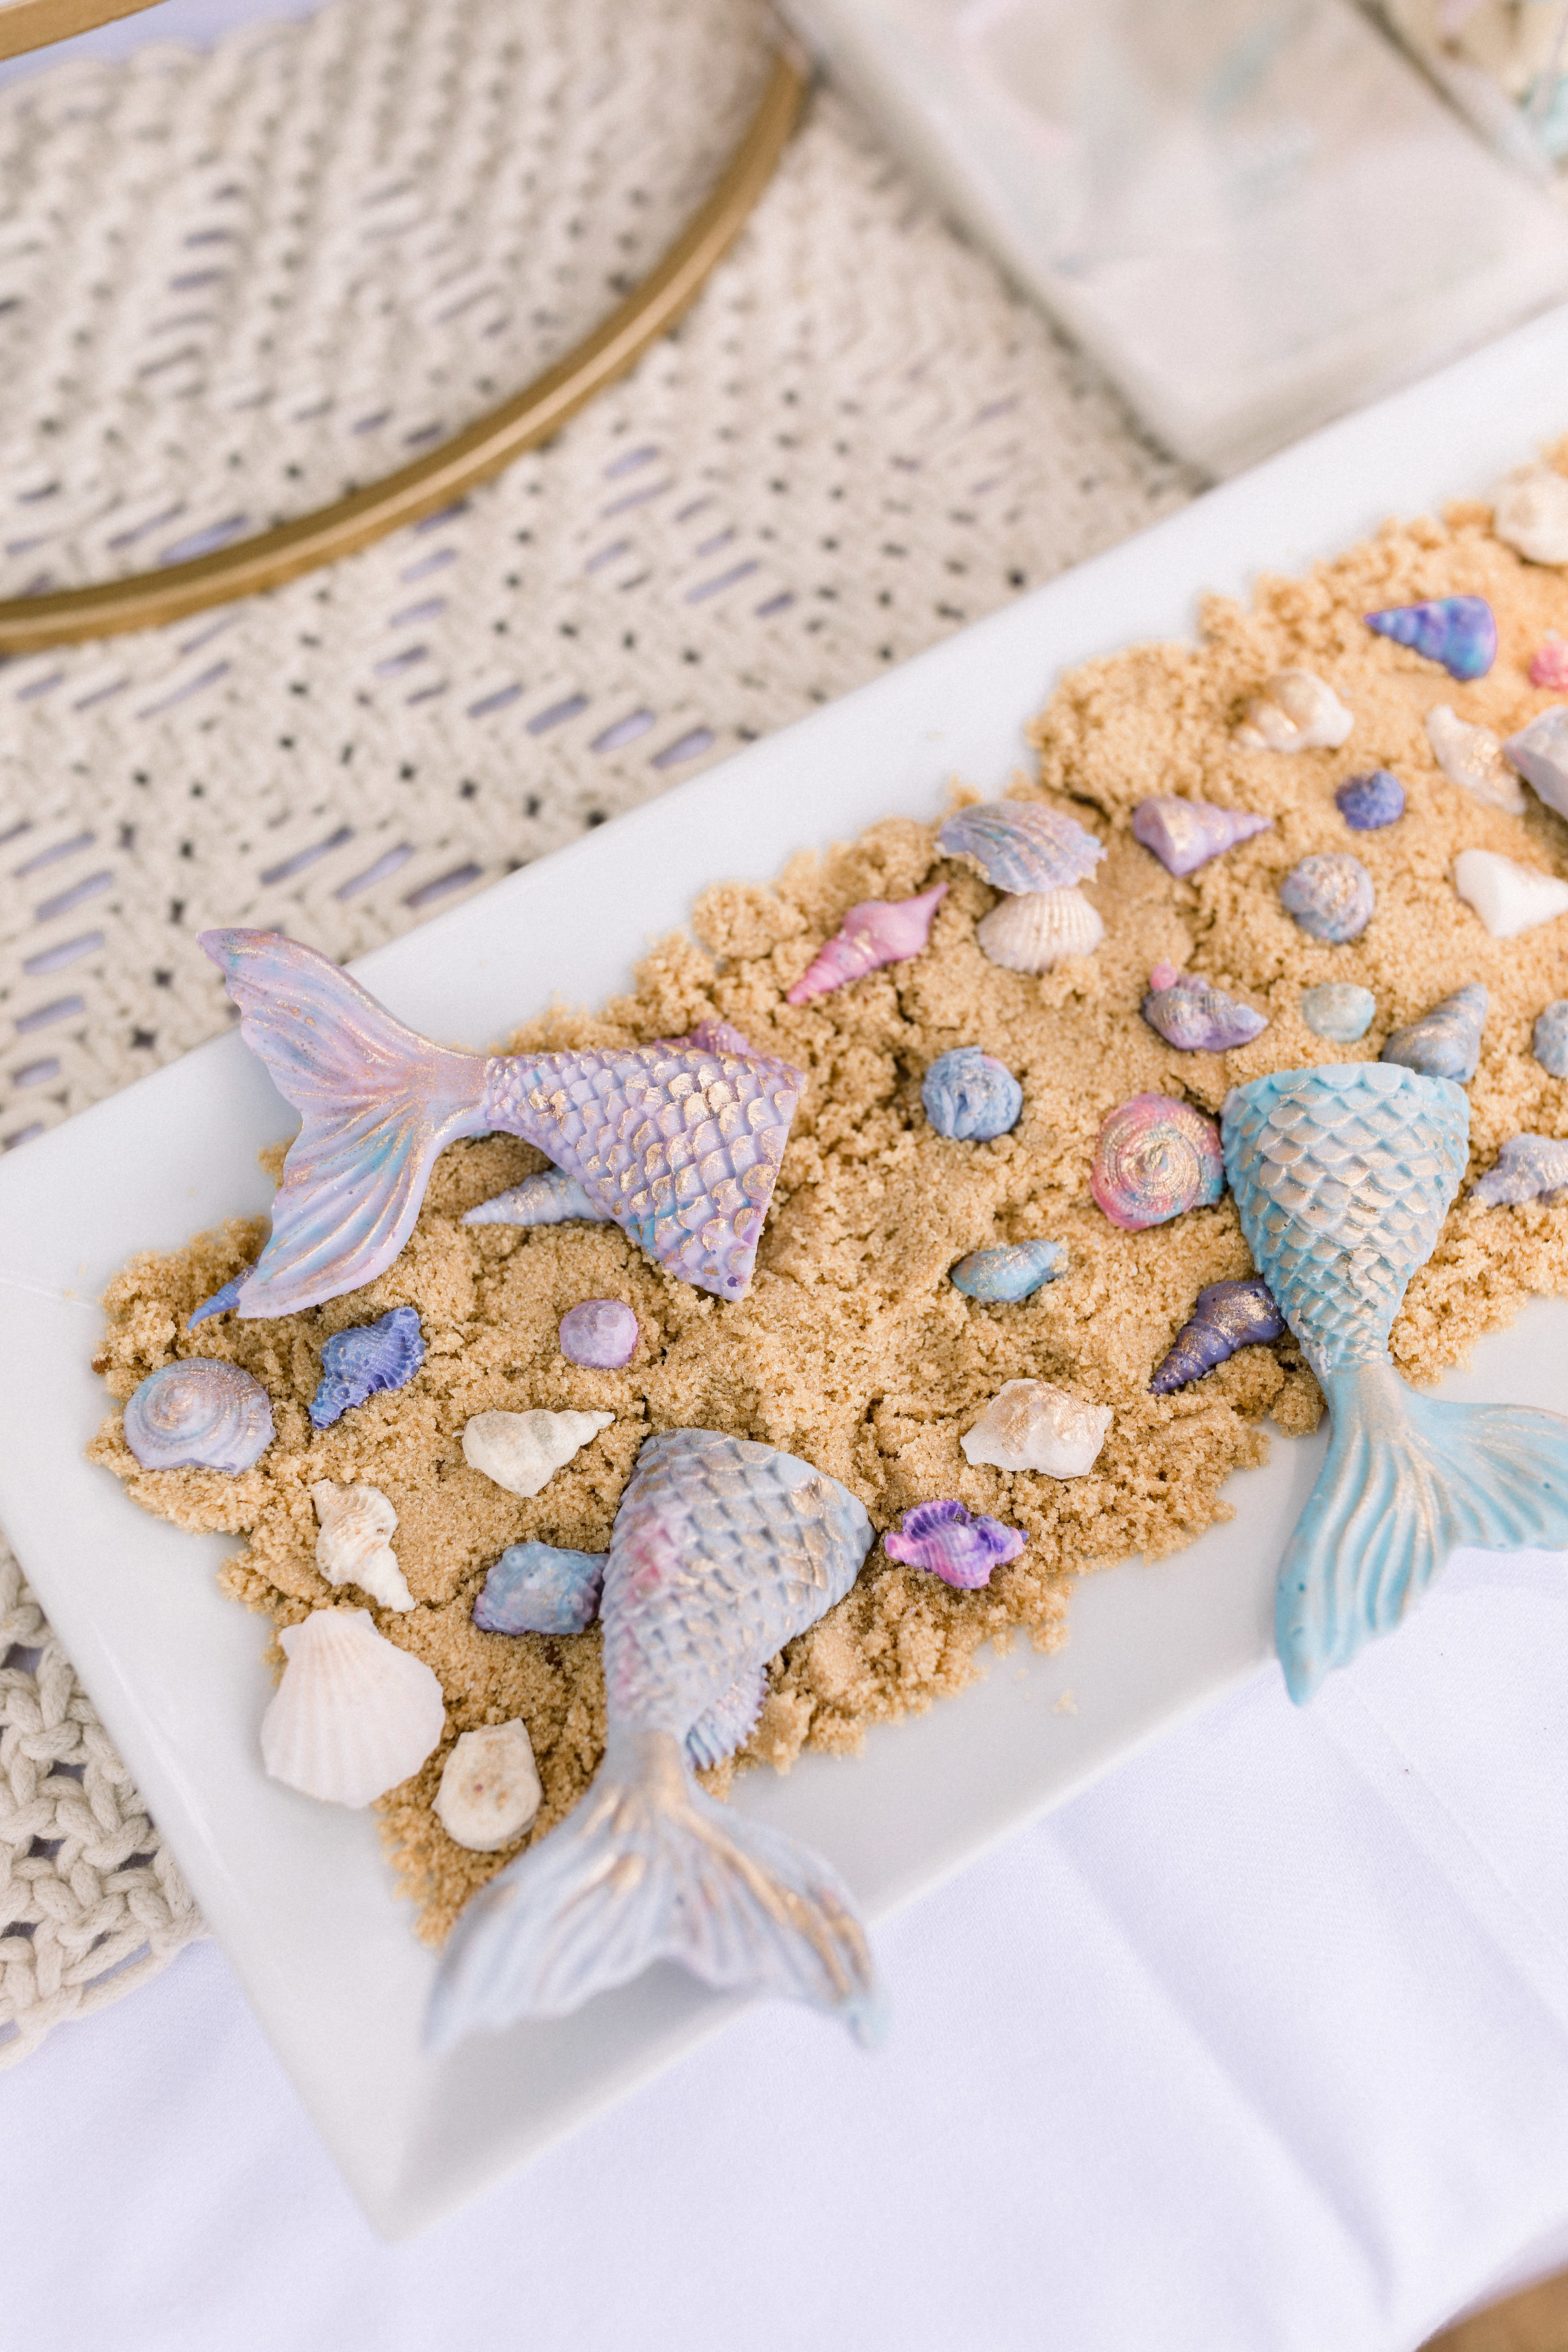
The morning of her party we added a chocolate mermaid tail I had made for the dessert table to the center of the cake, a custom cake topper from DeLovely Details and the cake was done! I figure I have plenty of years ahead to take cake requests from my daughter and joyfully look forward to making all her sugary dreams come true.
And even though I didn't make her cake, I made plenty of other sweet treats for our guests including brown butter rice krispie treats, cookie dough chocolate gems, funfetti cupcakes and so many chocolate mermaid tails and seashells. Sugarfina gummies completed the dessert table and are always the star of the show. I've never seen adults get more excited than when you give them a cello bag to fill with candy from Sugarfina. To read all about the dessert table of our underwater dreams, I'm creating a dedicated blog post just for this with a ton more photos tonight so stay tuned for more!


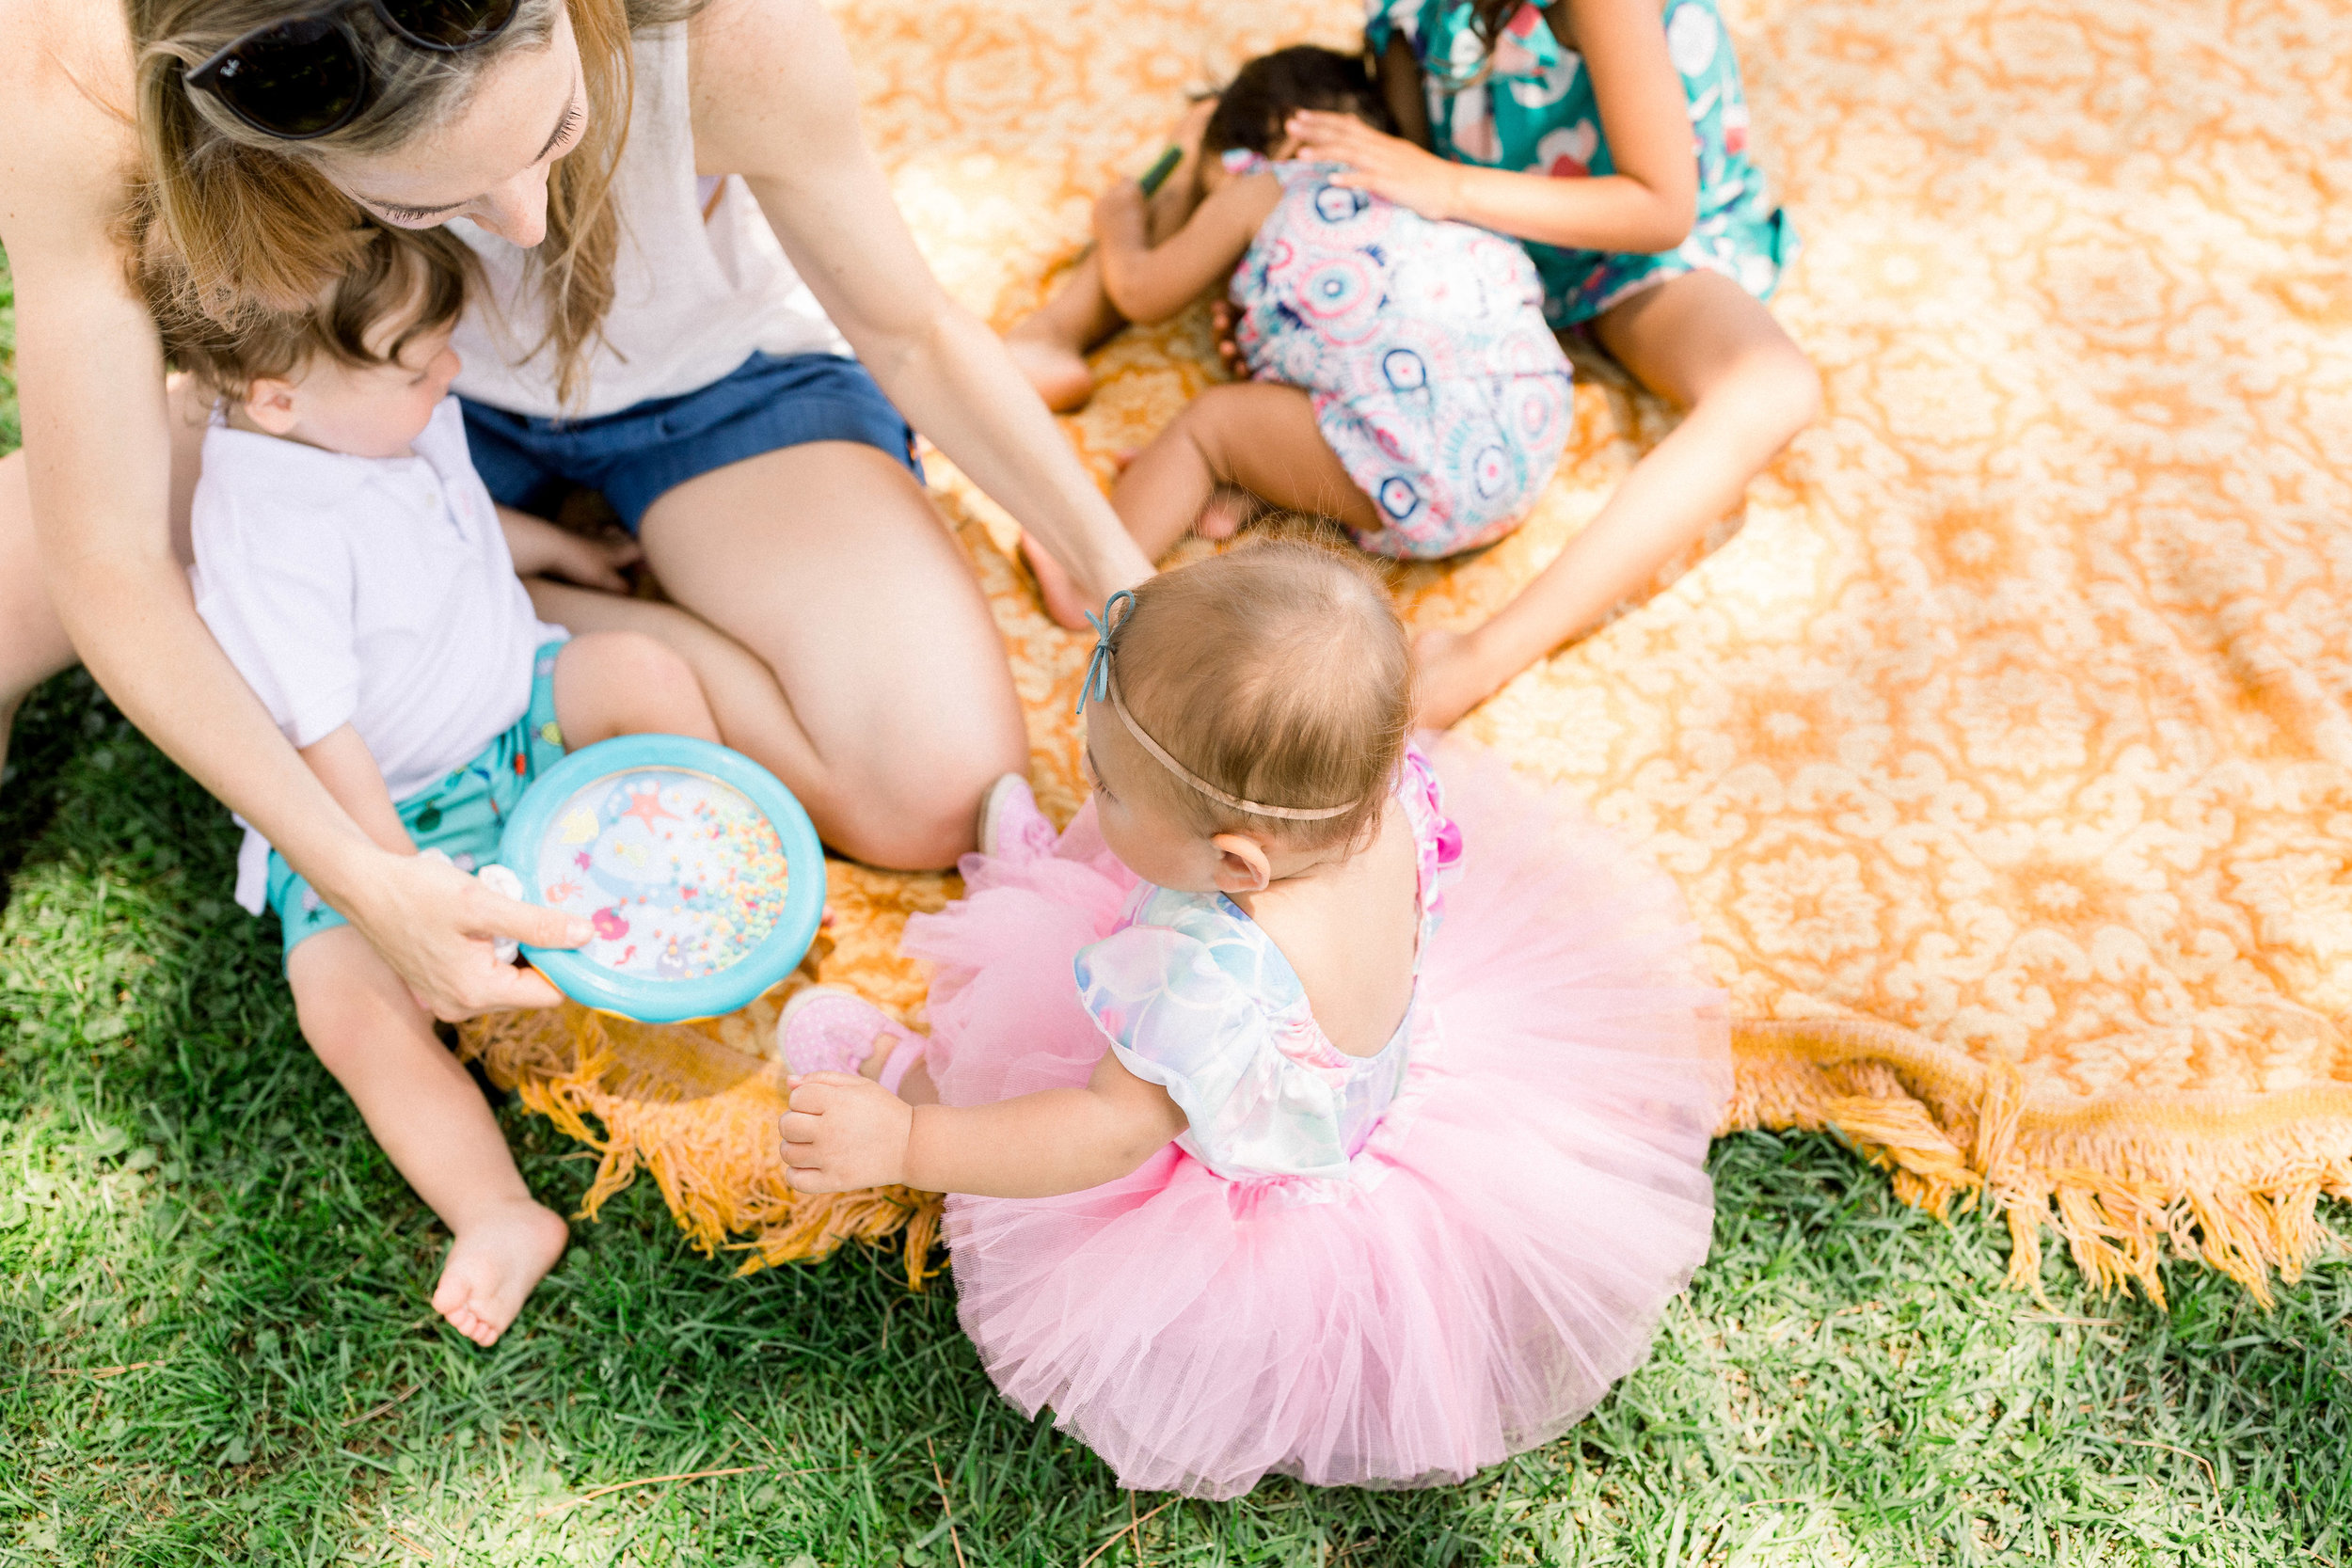
The dessert table was such a big hit, I think people skipped lunch and ate dessert first or maybe only dessert! We hosted lunch from our favorite, Chick-fil-A (sandwiches and nuggets), sweet tea and lemonade and made pasta salad, sliced fresh fruit and a veggie platter. It was so wonderful to have most of Milly's friends there (a few were out of town!), our friends, some of Mr. A's family and a ton of my extended family that live in SoCal but I hardly ever get to see. Milly had so much fun playing with her friends, crawling and cruising around, eating everything in sight and waving at everyone passing by!

We are so grateful to everyone who was there physically and in spirit to celebrate our daughter. And even though we put "no gifts necessary" on the invitation, Milly was spoiled beyond belief and we were spoiled too. The cards with sweet messages telling us we are kicking ass as parents and how much they've enjoyed watching us as parents are cards I will keep forever! Thank you to everyone for being a part of our first year as parents. We couldn't do it without our village.


Mr. A made this too! This was a total surprise.